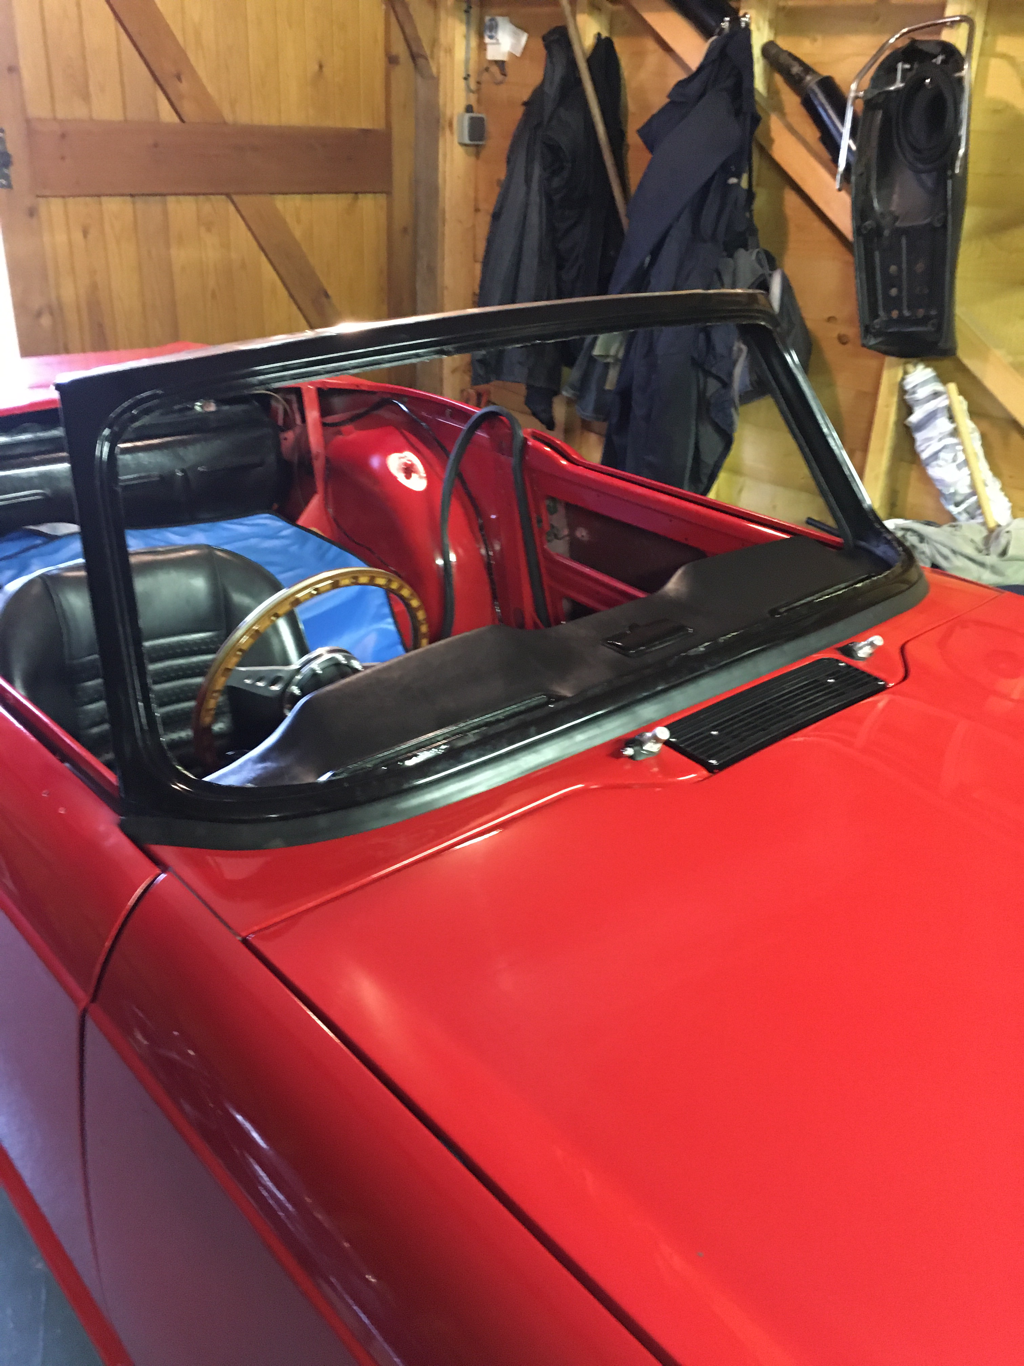
Lights
With the wiring loom in, I had wires coming out of all four corners of the car. I reached for the boxes with the light fittings in. All were in a pretty sorry state.
At the front, the TR6 has indicators both in the front wings and also in the front valence. First up were the indicator repeaters in the wings.
I had to replace the studs that fix them to the car, paint the silver edging as the chrome had deteriorated, spray the unit silver and spruce up the rubber gaiter.
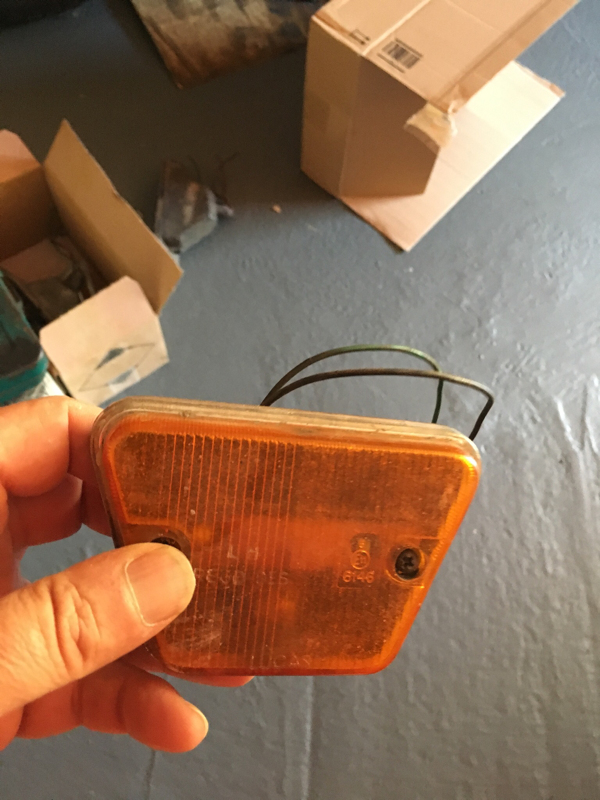
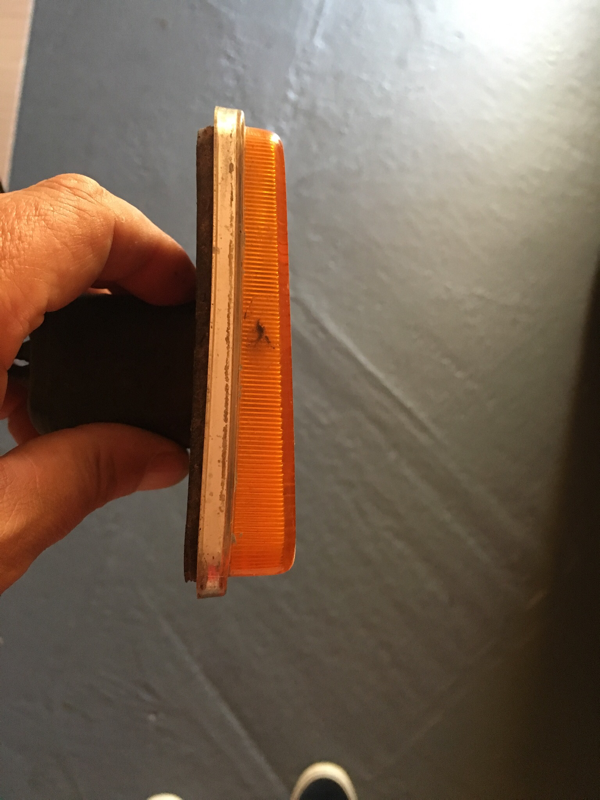
Next up were the front housings which contain both indicators and side lights. Again, fixings has broken off, plus one of them had a corner broken off which needed replacing.
The front lights are sealed beam units, held behind a chrome ring and are a distinctive feature of the car.
The headlamp bowl is normally riveted to the car. I was concerned however that this seemed pretty permanent. Instead, I discovered rivnuts: a rivet-type tool allows one to put threaded inserts into blind holes.
The headlamp bowl is normally riveted to the car. I was concerned however that this seemed pretty permanent. Instead, I discovered rivnuts: a rivet-type tool allows one to put threaded inserts into blind holes.
First, three rivnuts.
Then the headlamp bowl
Then the headlamp cradle. The screws to top and side are for beam adjustment.
Then the headlamp and locating ring.

Finally the chrome ring that covers everything up.
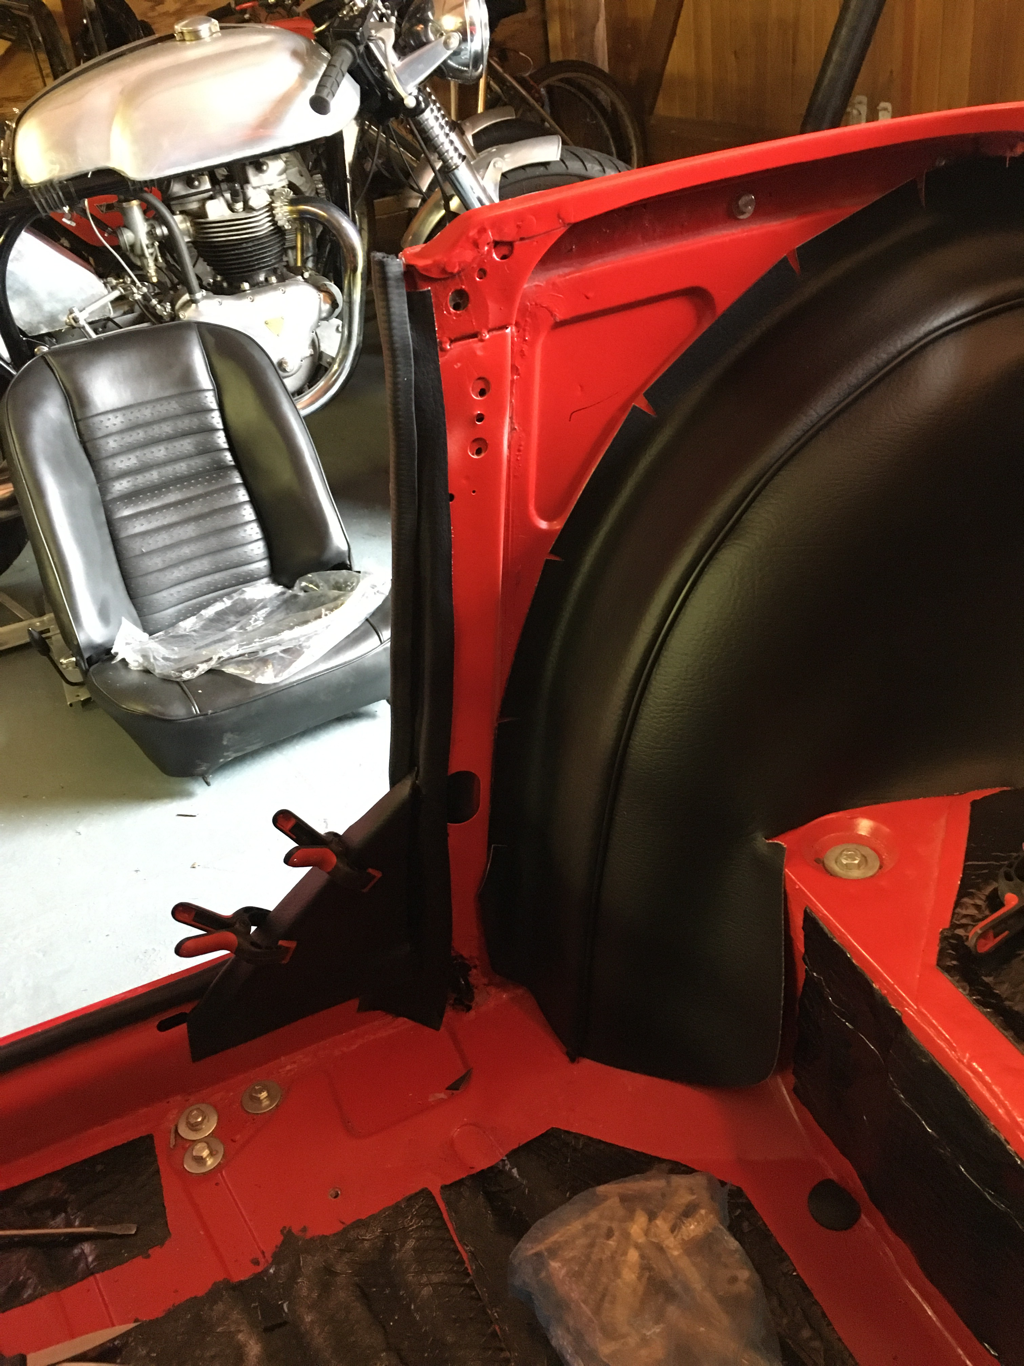
Starting to look more like a car!

The back lights were filthy, and the chrome quite pitted. However, new ones cost a fortune and I was keen to reuse the existing ones if possible.
The units polished up pretty well
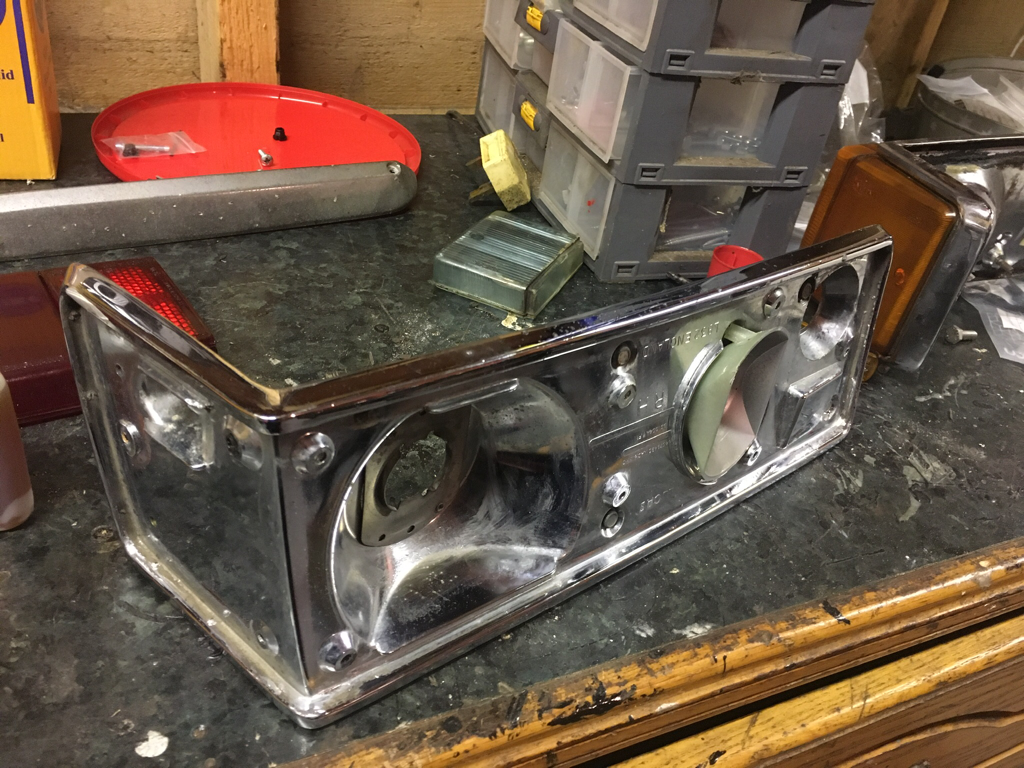
Replaced the high tech reflector (ie baking foil)
Not perfect, but a lot more presentable