Dash Instal
I had been itching to instal the dashboard yet it seemed there was always a job that had to be done first. From installing everything that goes behind the dash to refurbing, then fitting the dash top. Finally however all of that was done.
First up is the metal dash, which in turn fixes the rear of the dash top to the car.
First up is the metal dash, which in turn fixes the rear of the dash top to the car.
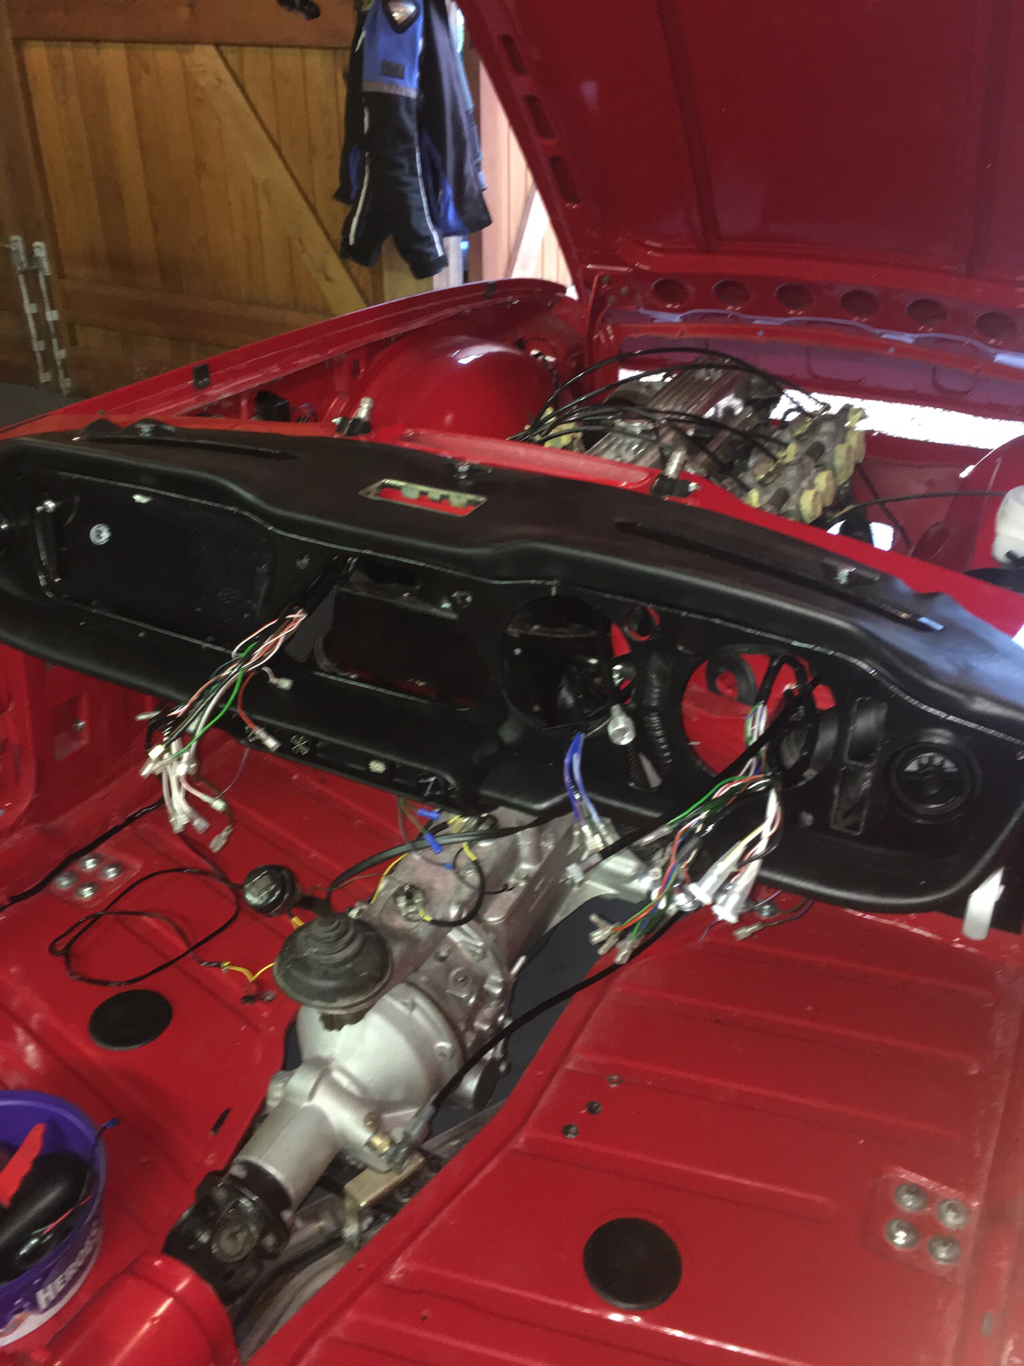
Although it was a pig to get in, this feels like progress.
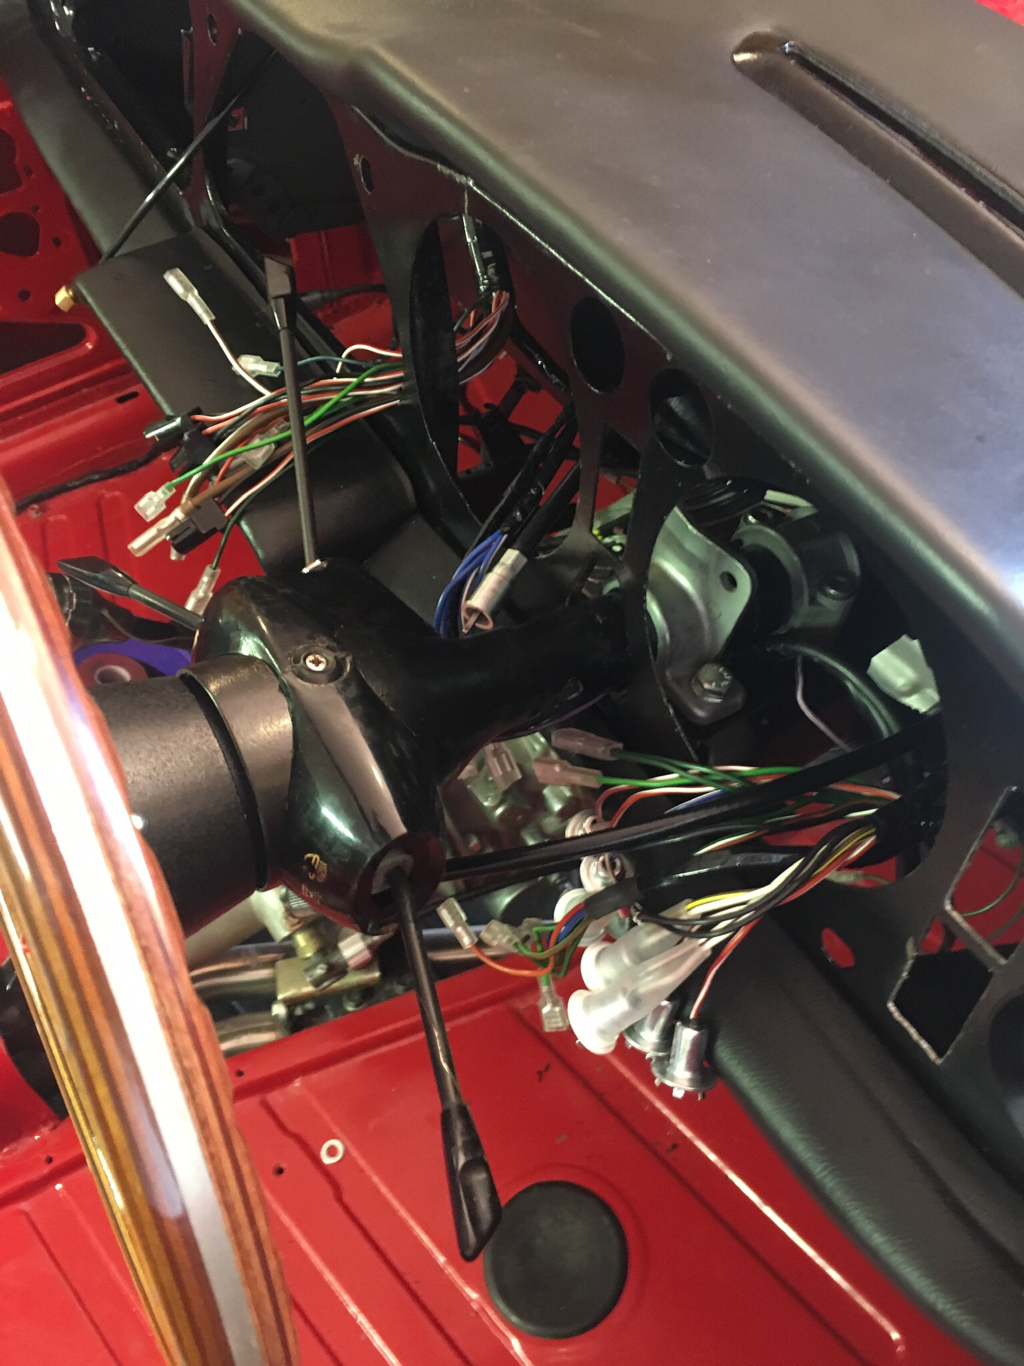
I decided to refit the steering column first, before the wooden dash. There’s more access, and also it enabled me to start to connect some of the wiring. All of the switches for lights, indicators, overdrive and horn are connected via wires that pass down the steering column. Also, I finally got to connect the ignition switch.
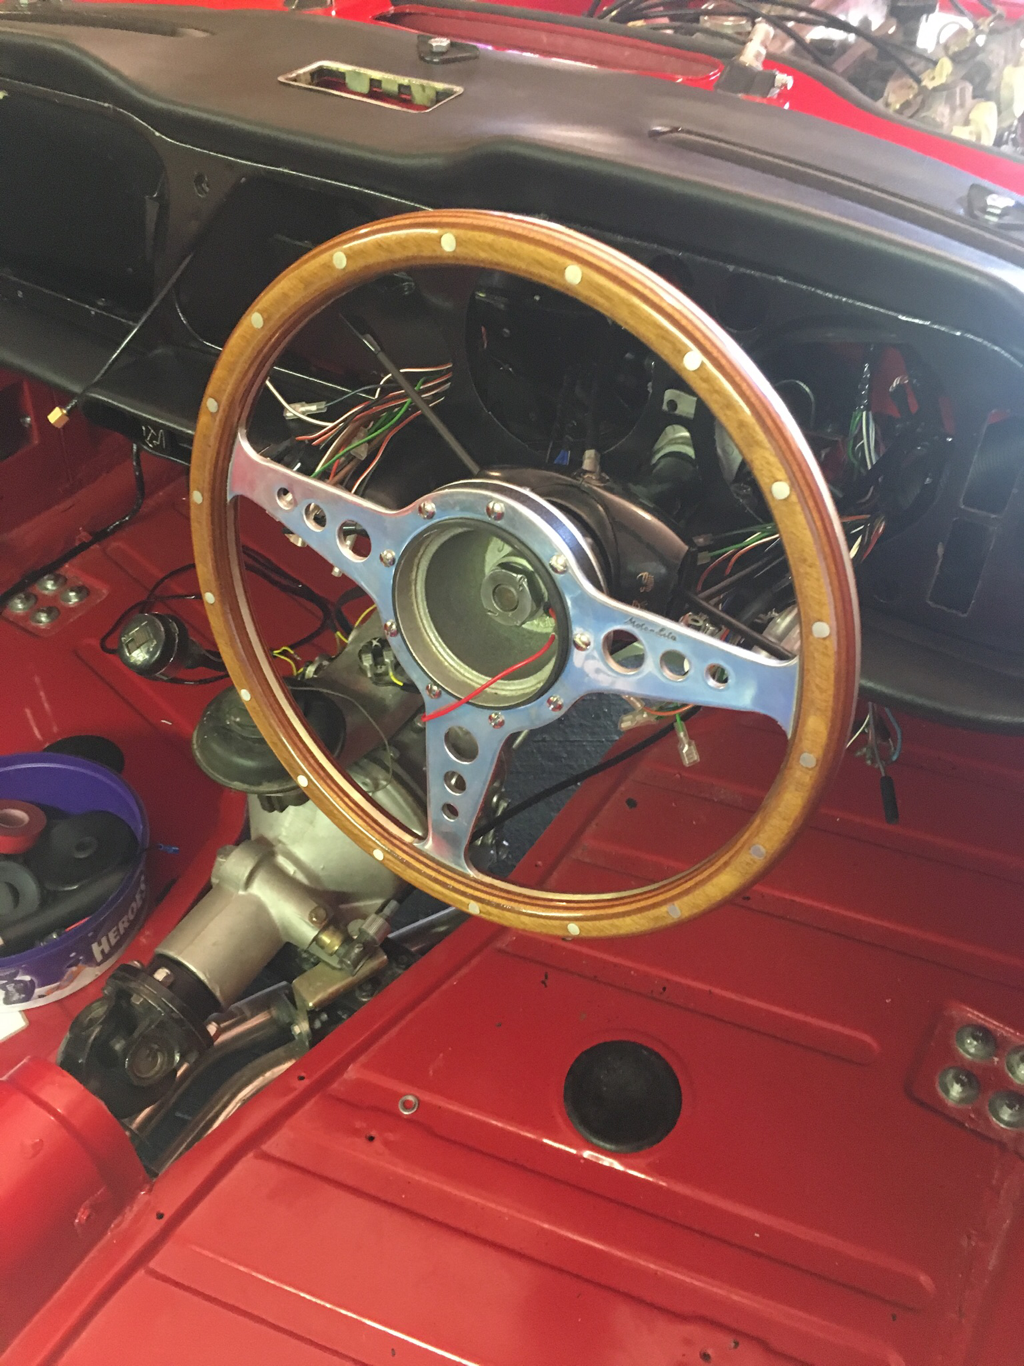
Again, this feels like progress. It was especially good to bolt on the spangly MotoLita steering wheel.
Inside the engine compartment, the clamp shown allows the column to collapse in the event of a collision.

And finally: fitted and wired in the dash.
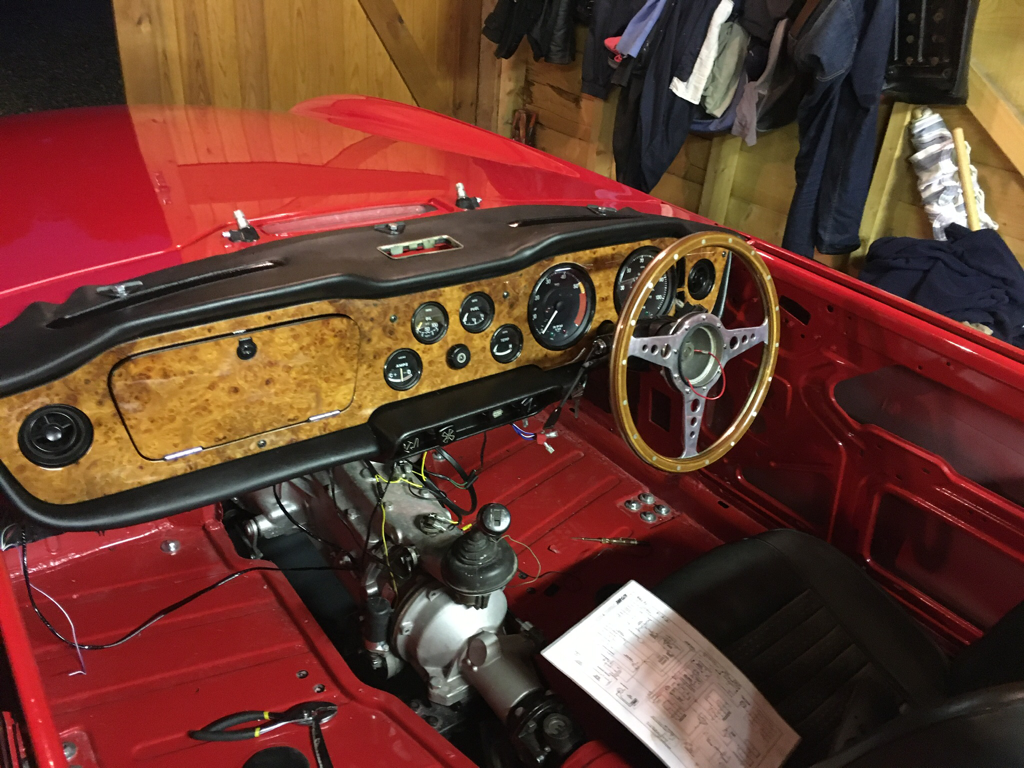
Although fiddly, working out which wire went where wasn’t that difficult. What was harder was the lack of access: every single wire was just about long enough but no more.
But it’s done now: the lights and switches seem to work, I have power to the coil, the pump and the starter motor so getting this thing running just got a little closer.
But it’s done now: the lights and switches seem to work, I have power to the coil, the pump and the starter motor so getting this thing running just got a little closer.
