Interior
The TR6 project had arrived with no interior. But kits are available and I’d imagined it would be an easy, satisfying job to do.
Whilst it definitely makes the car look more finished, there was a lot more to it than I’d realised. Especially the vinyl trim where parts have to be cut and glued to fit- lots of scope to make expensive mistakes.
It’s not helped by the fact that the job that has to be done first is one of the trickiest. The rear wheel arches are covered in black vinyl. Underneath that is padding. Everything has to be cut, fitted, glued and there are curves in every direction. Also, the piping needs to run straight, and space has to be made to allow the quarter panels and rear trim to sit correctly.
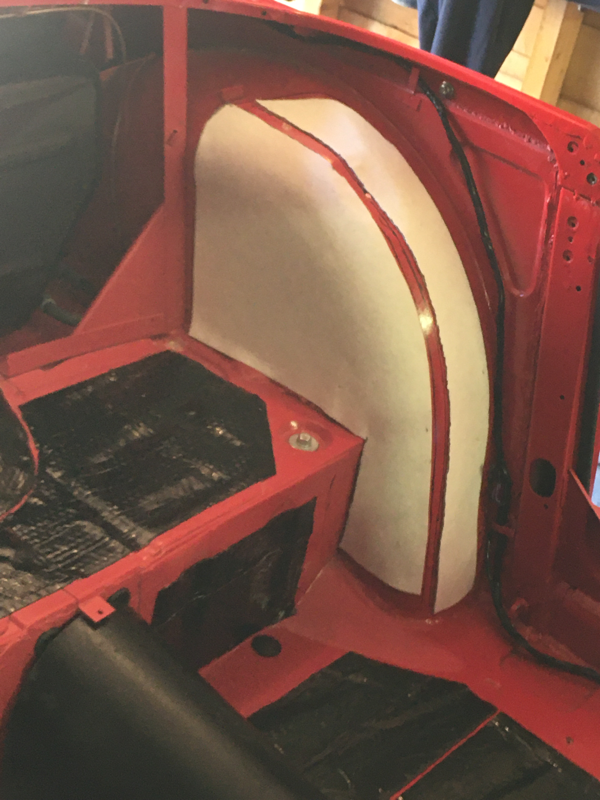
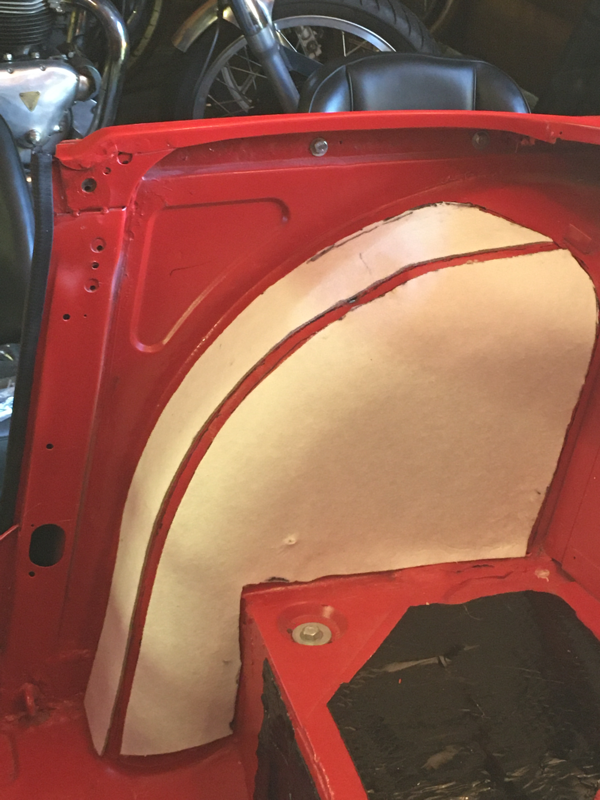
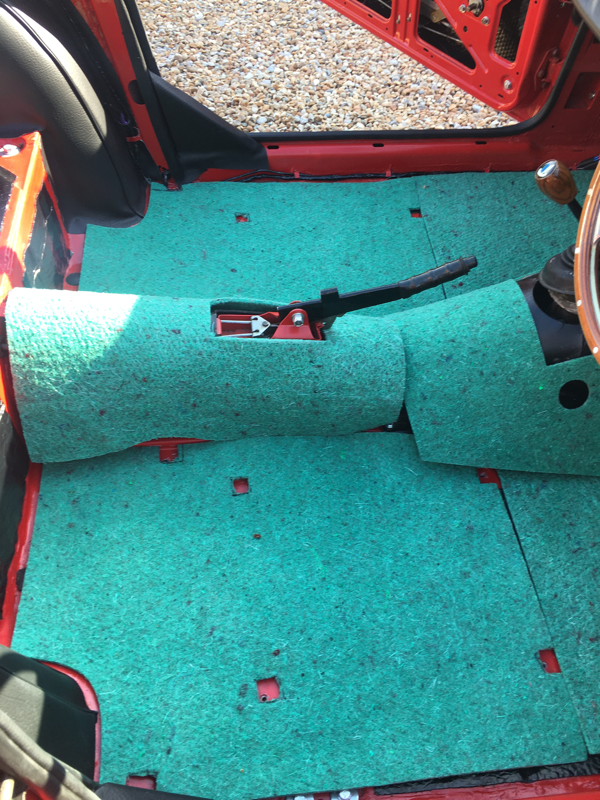
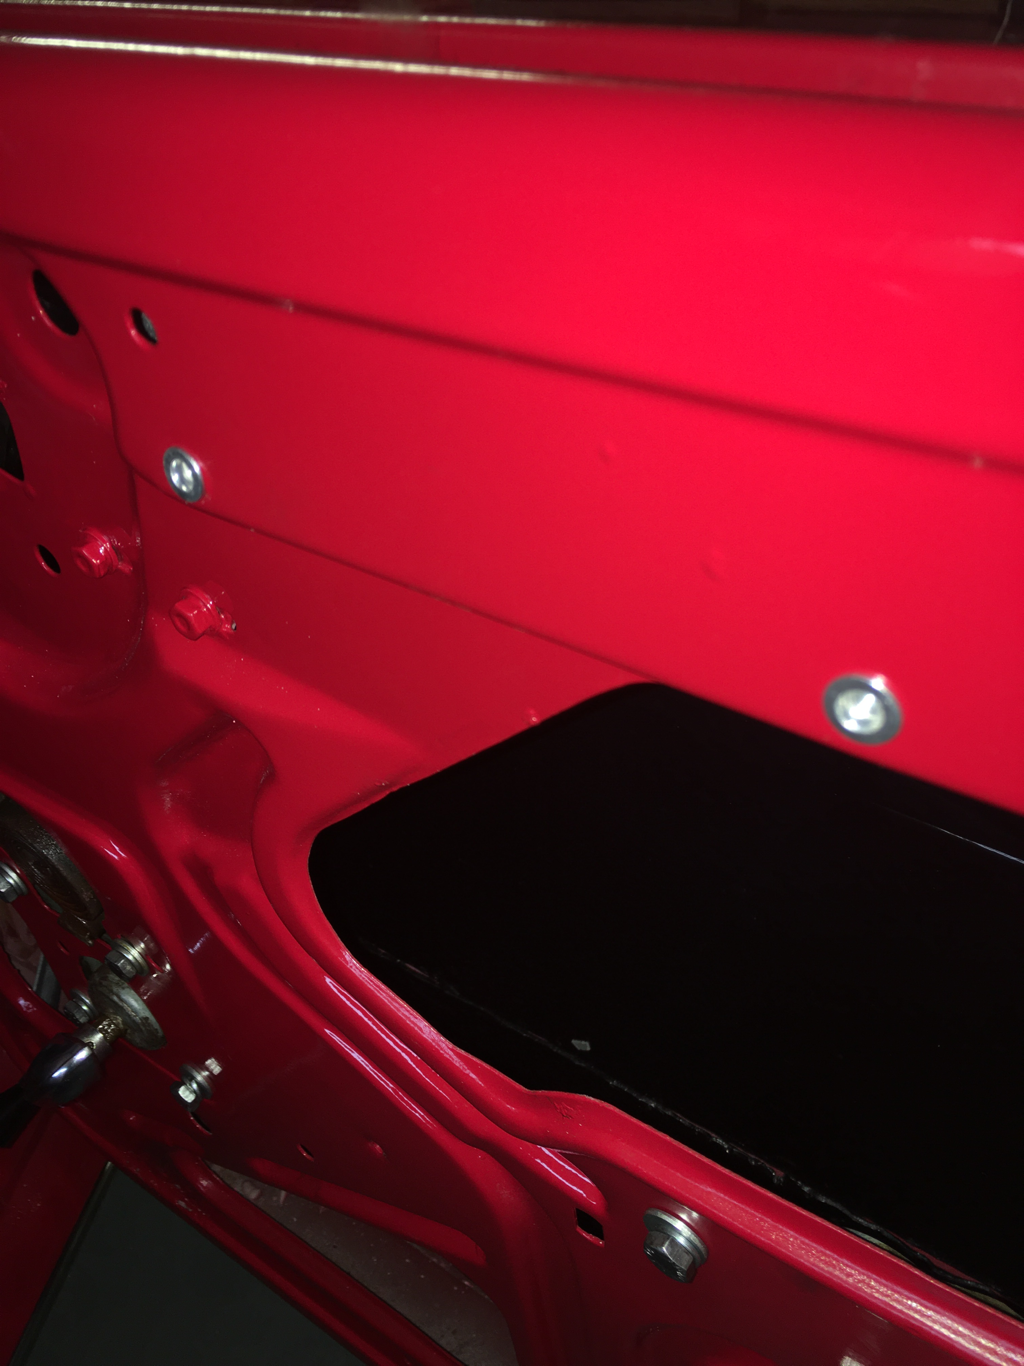
First up is the padding that sits underneath. I spent far more time measuring, marking and contemplating before actually cutting he bits to size and sticking them on. The gap shown is to allow the piping on the vinyl to sit correctly. Gaps also have to be left near the outside of the car and the rear for the panels.
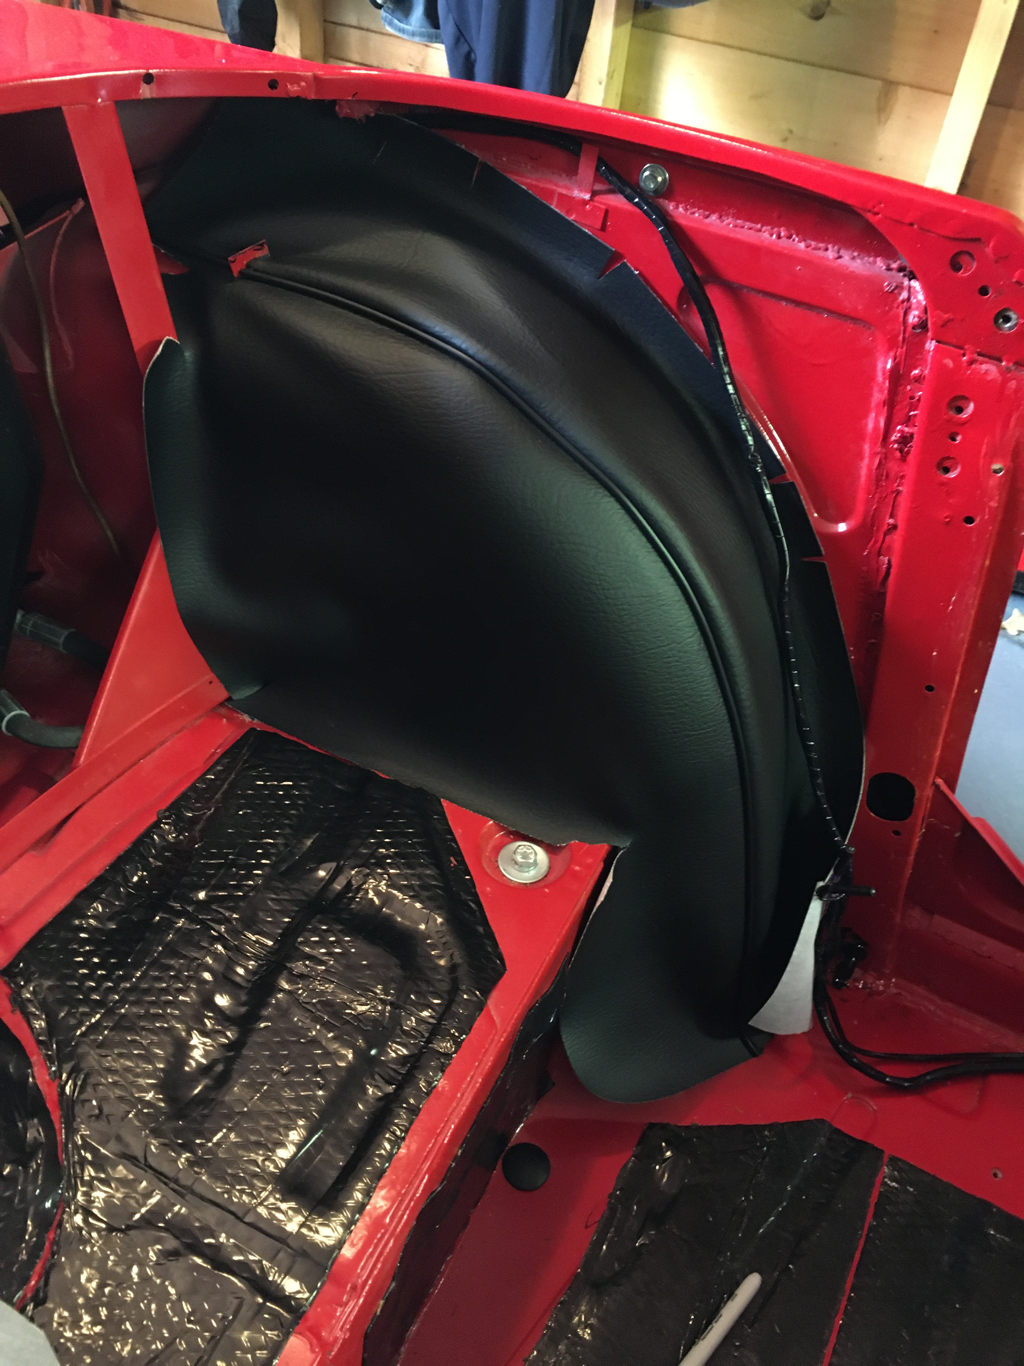
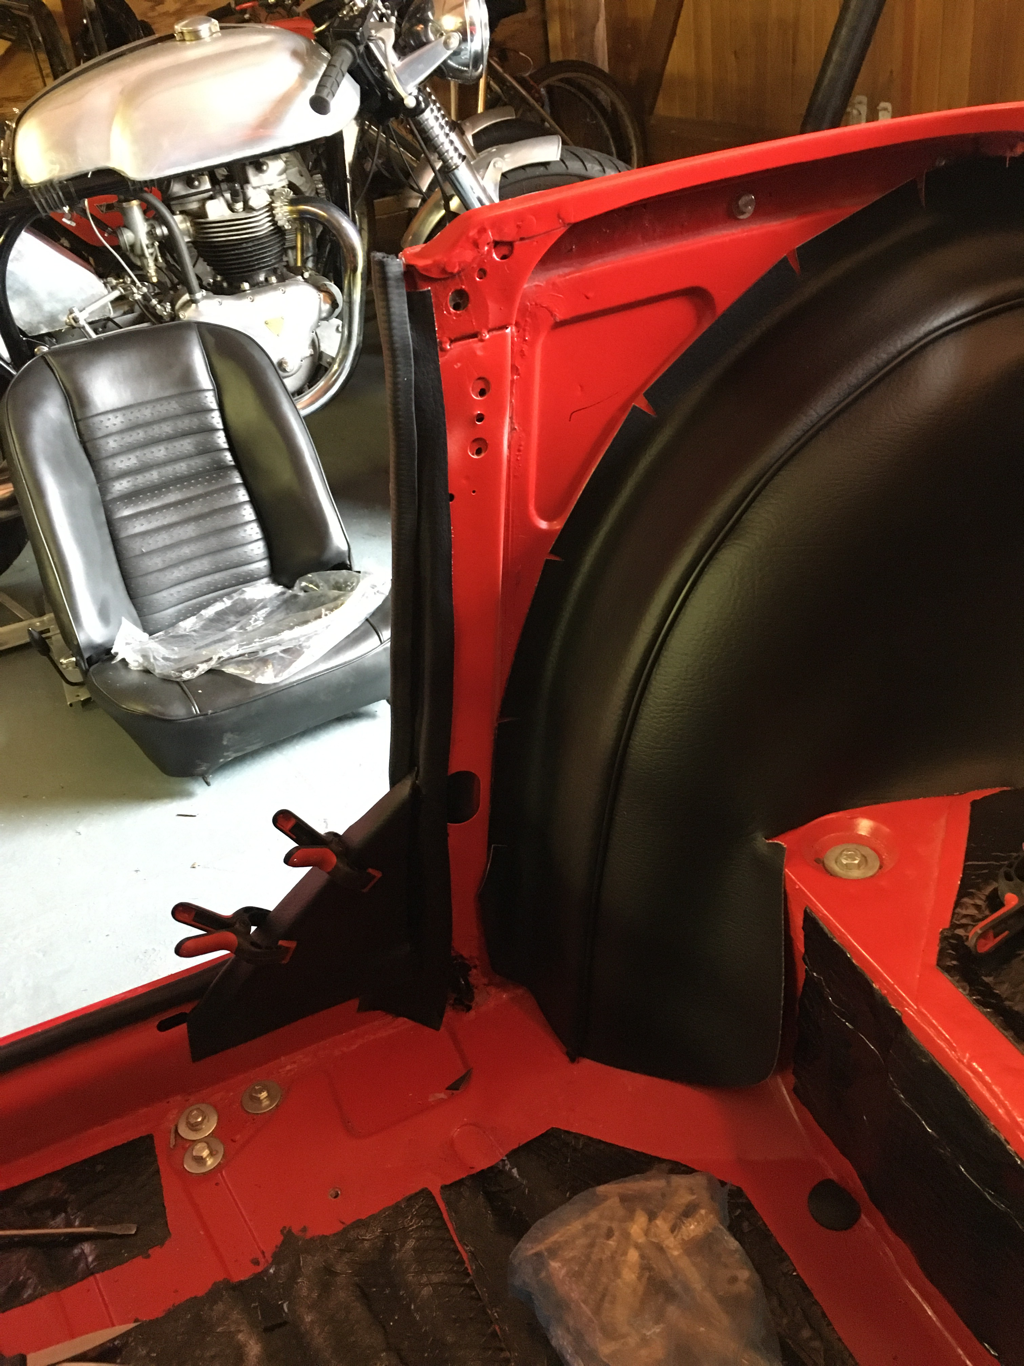
Next up is the vinyl. Forums were a great help here. I learned from others that it’s easiest to glue the piping down first and then, when set, come back and glue the edges. The vinyl isn’t glued to the padding as it’s supposed to ‘float’ over it.
Vinyl pieces get glued to the front of the B post and also the triangular gussets that sit at rear of door openings
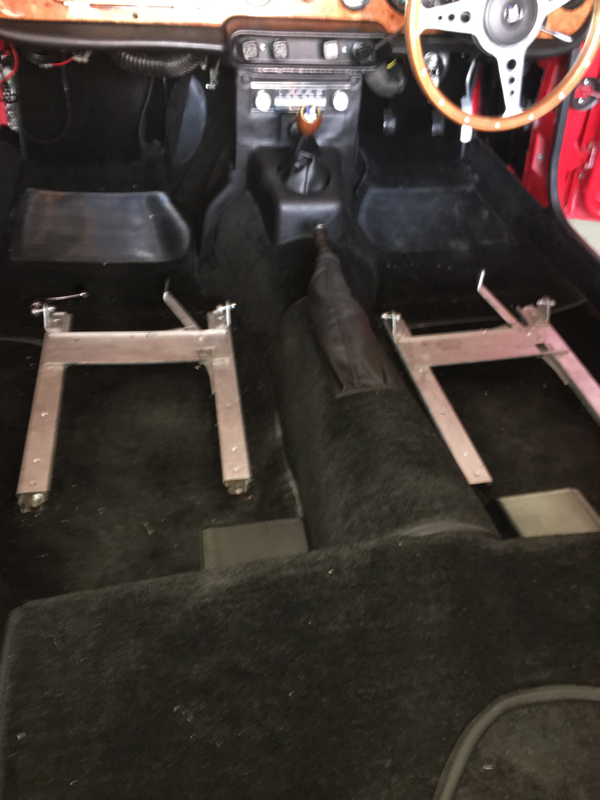
The underlay was fairly easy to fit. Holes have to be cut for the seat mountings and seat belts etc. I used carpet tape on the rear parcel shelf and gearbox/ handbrake tunnels.

Top carpets were again fairly simple. The parcel shelf is tricky in that the rear trim panel needs to be able to sit low down on the body so I cut the underlay away.
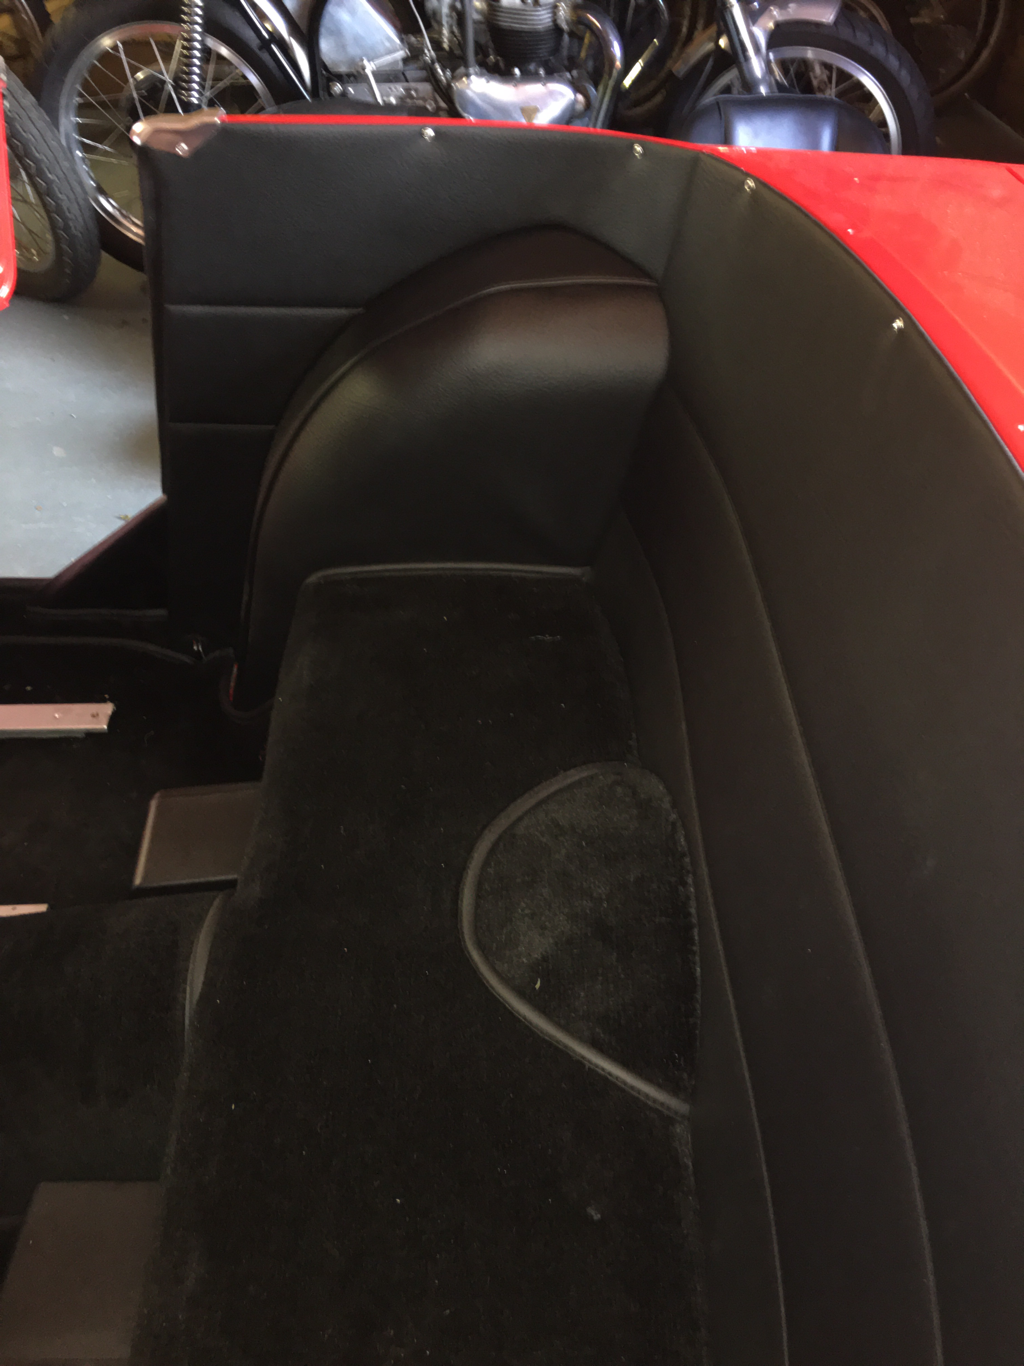
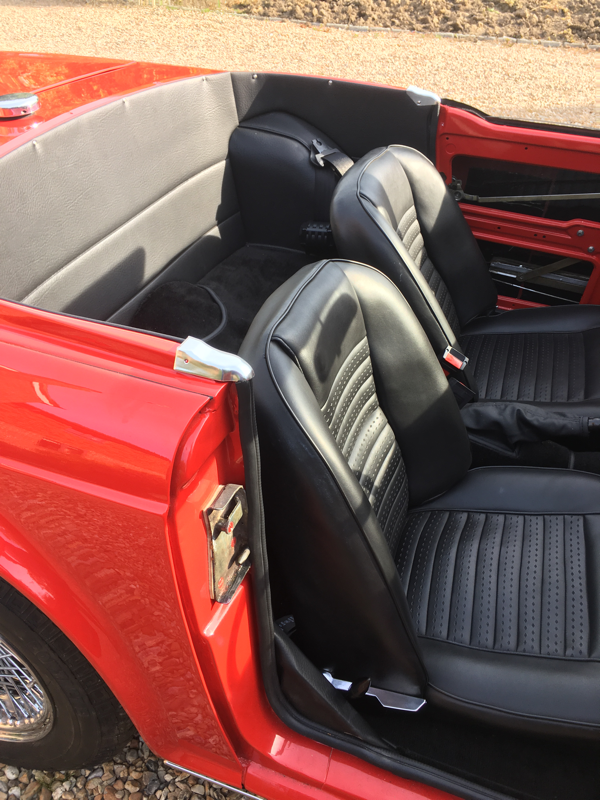
The rear trim sort of has to be fitted at the same time. Holes need to be drilled to secure the rear, and the two side panels with self tappers. Also the silver finishing caps shown have a self tappers on the inside and a rivet on the outside. Lots of scope for errors.
The rear trim sort of has to be fitted at the same time. Holes need to be drilled to secure the rear, and the two side panels with self tappers. Also the silver finishing caps shown have a self tappers on the inside and a rivet on the outside. Lots of scope for errors.
The rest of the carpet set is more straightforward. The sill covers are held in place by a piece of vinyl that sits underneath the door rubbers. And the main floor carpets are held in place by the seat rails.

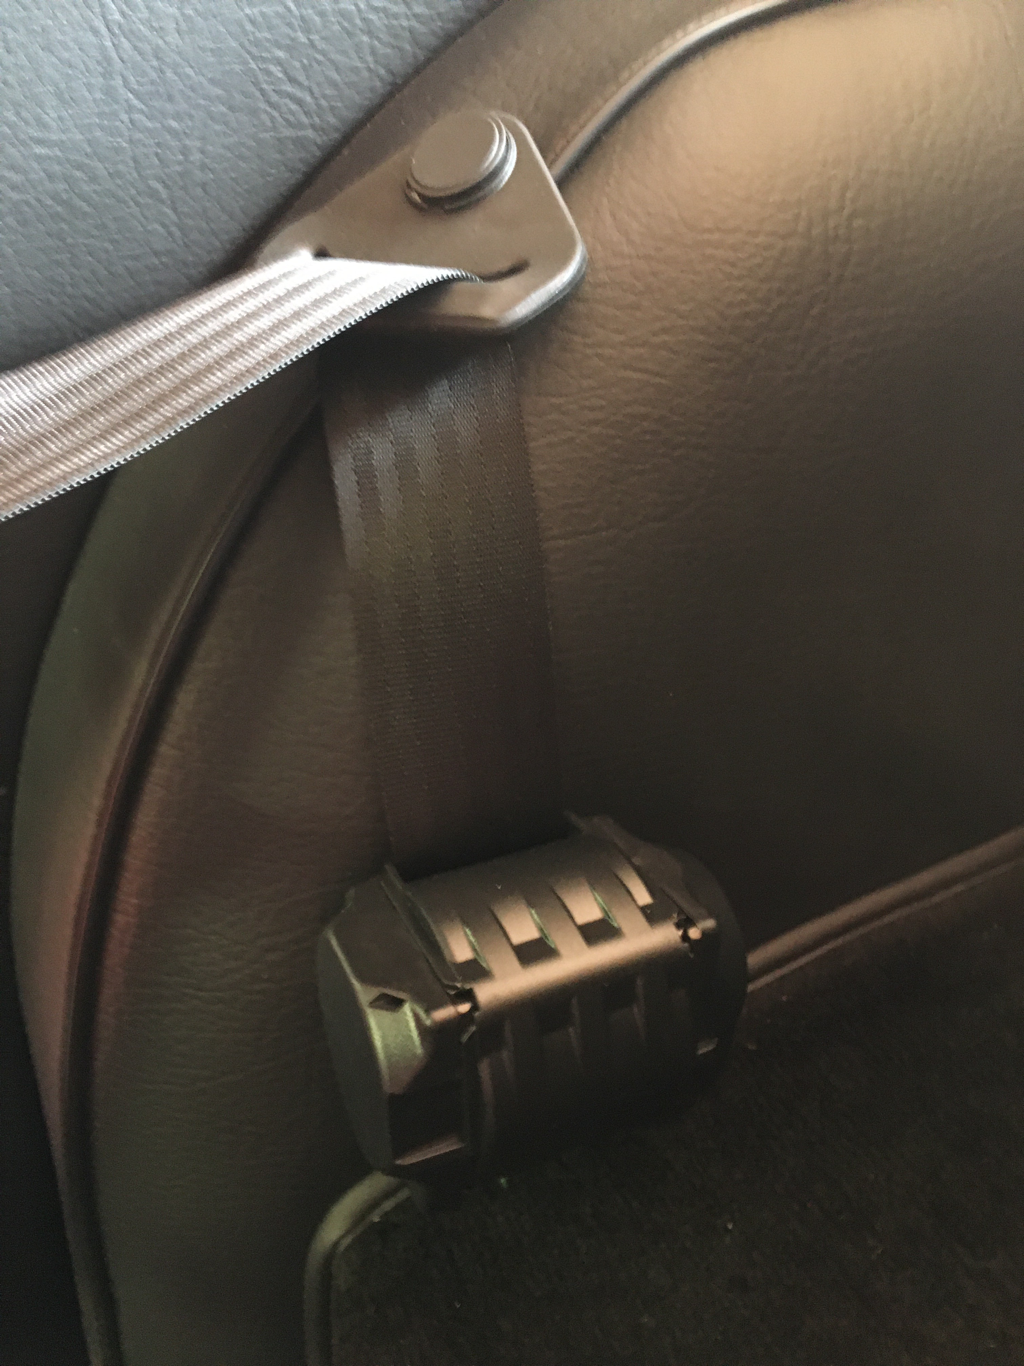
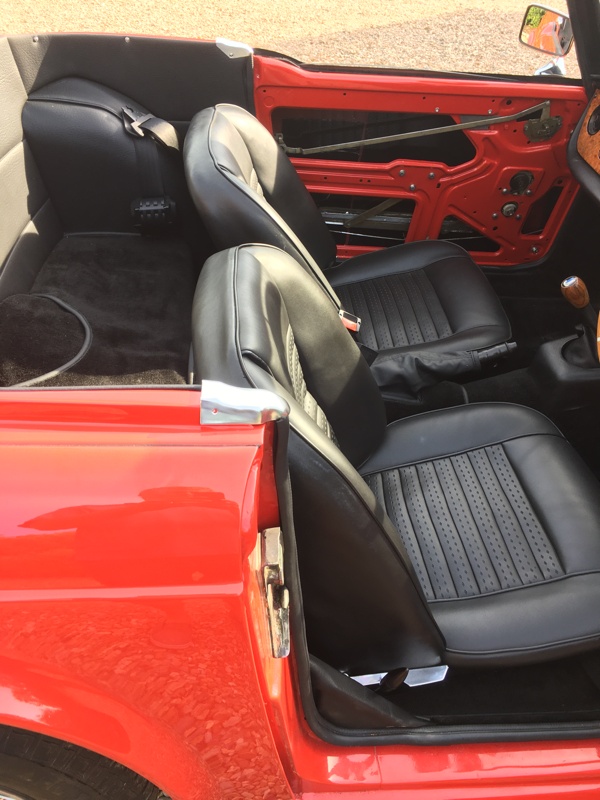
Inertia seat belts need holes cut in the rear wheel arch vinyl
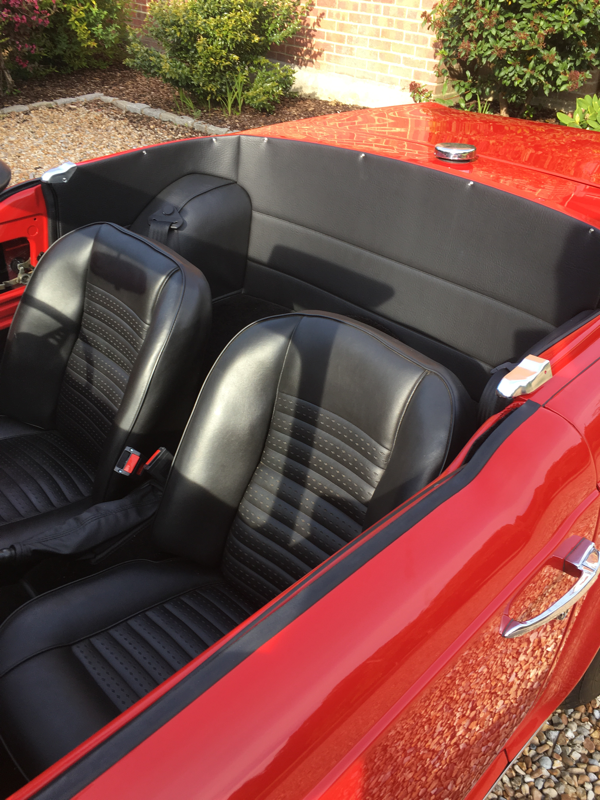
Starting to look far more complete
The door panels were, again, not entirely simple.
I’d decided to go for the chrome door pulls from the TR4 rather than the plastic TR6 handles which are stuck on. Existing holes in the door got rivnuts:
I’d decided to go for the chrome door pulls from the TR4 rather than the plastic TR6 handles which are stuck on. Existing holes in the door got rivnuts:
The panel clips holding the door on took a lot of lining up. Holes needed to be cut for the door opener and window winder (always nerve wracking). Finally, there are springs behind both the handles and door panel that press the panel outwards against the handles. All were too long and I had to shorten all four springs slightly.
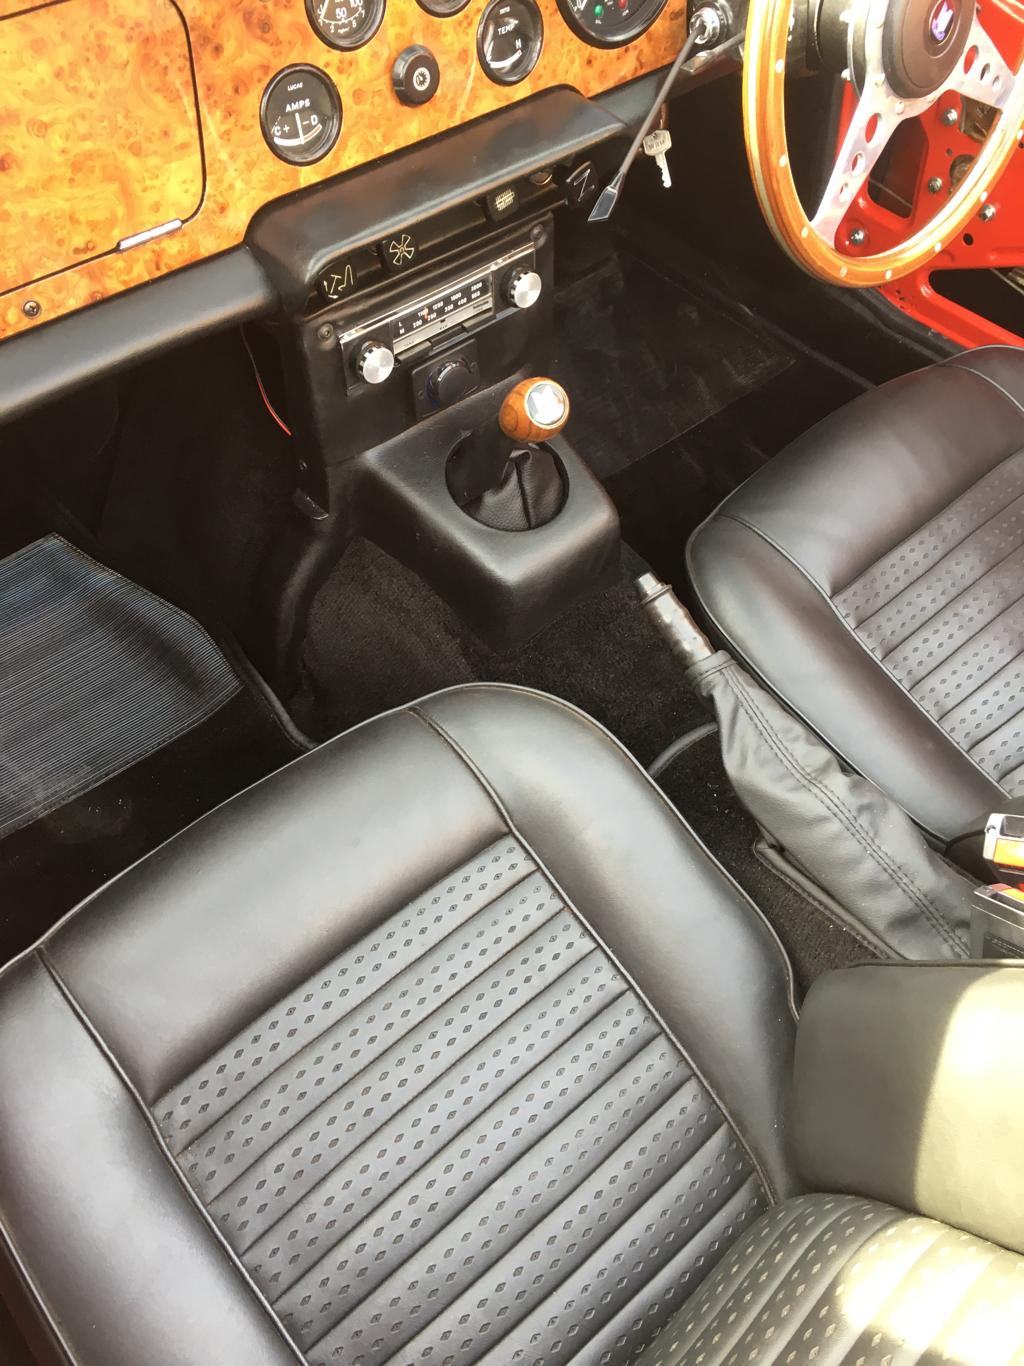
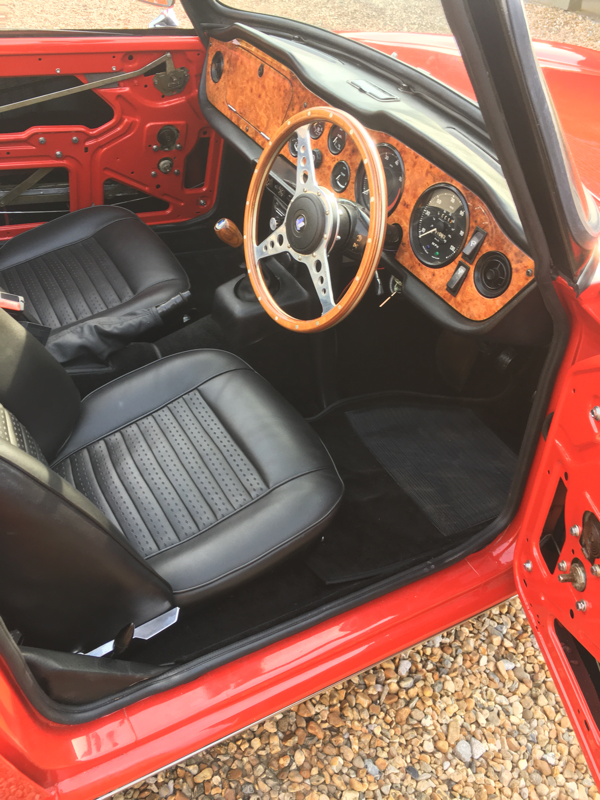
The finished result looks good though, I think.
The finished result looks good though, I think.
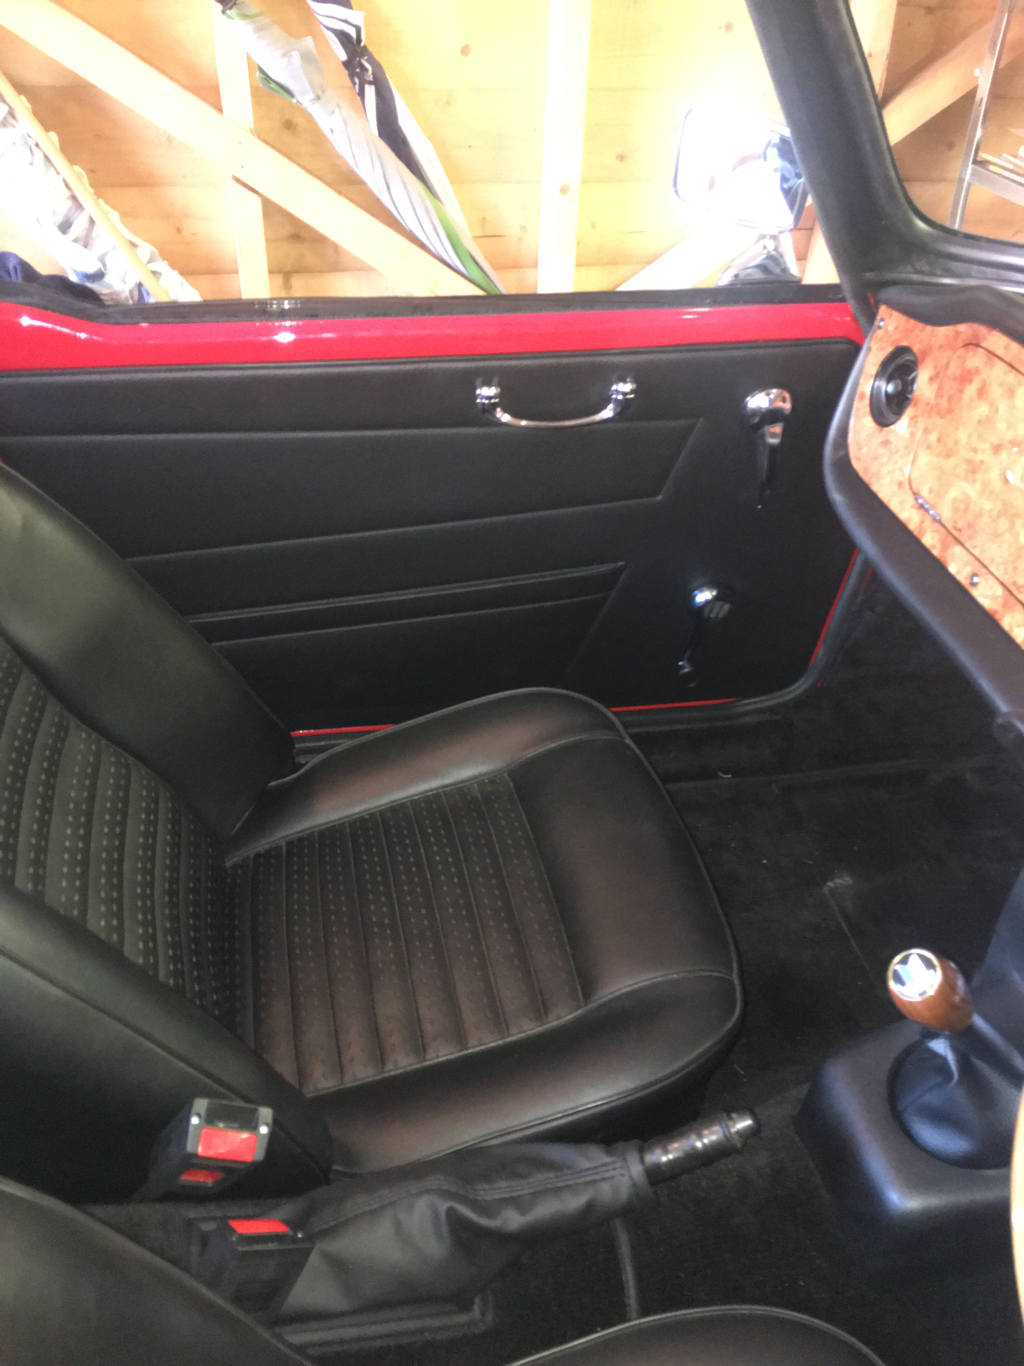
The TR6 originally had vinyl covers stuck to the top of the door that doubled up as door pulls. I wasn’t a massive fan of the look and also thought they come unstuck. So I stuck with the paint at the top instead, which I know is something others have done.
