Body Shop
When the car came back from the blasters, in primer, it was obvious that some areas I thought were ok, were not. In particular, one of the floor pans and the boot floor were pretty thin. I decided that I would always regret not replacing them whilst I had the body off. So I forked out for two new floors, a boot floor, a door skin, and a new boot lid, and sent the lot off to the body shop for prep and painting.
I had probably underestimated just how much work was involved in preparation. Beyond welding the new panels in, virtually every panel needed some work done on it before it could finally be primed and made ready for final paint.
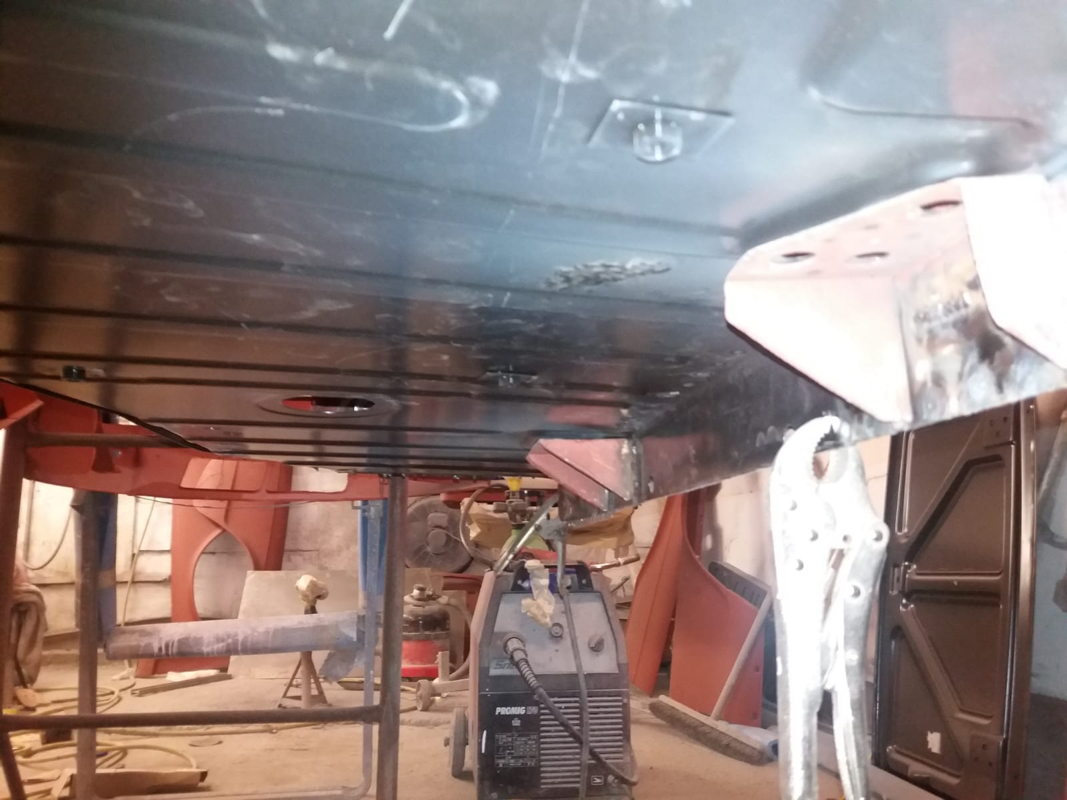
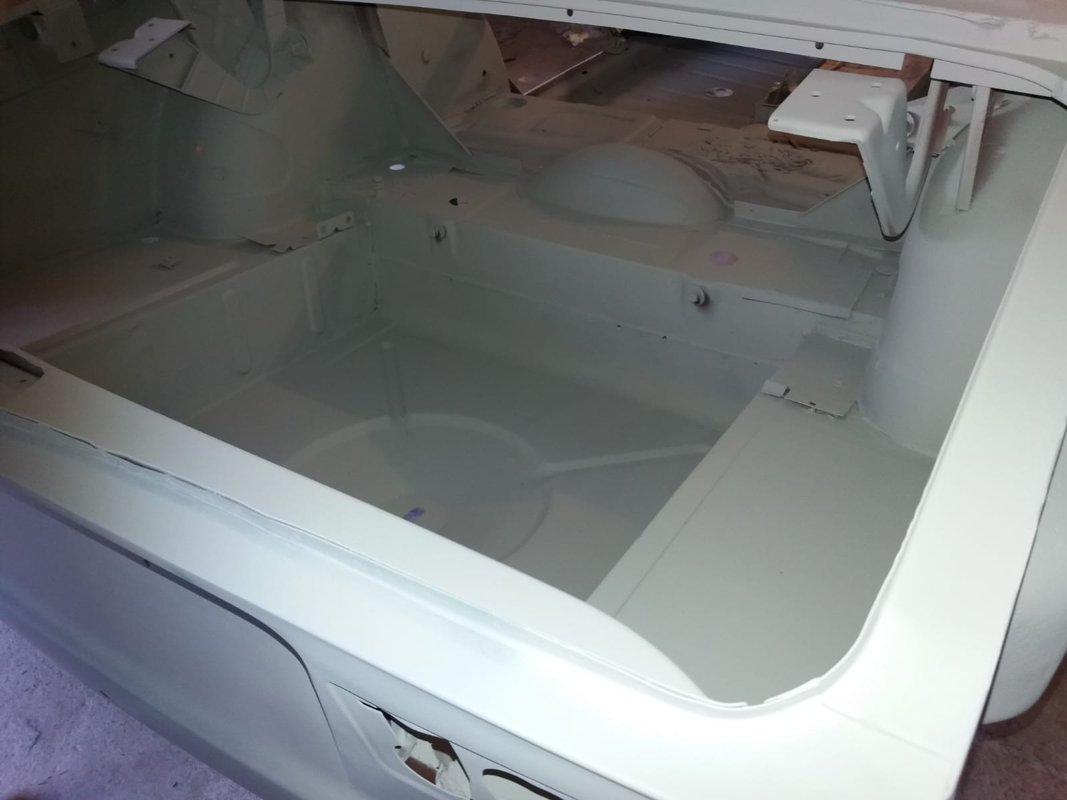
New floors going in
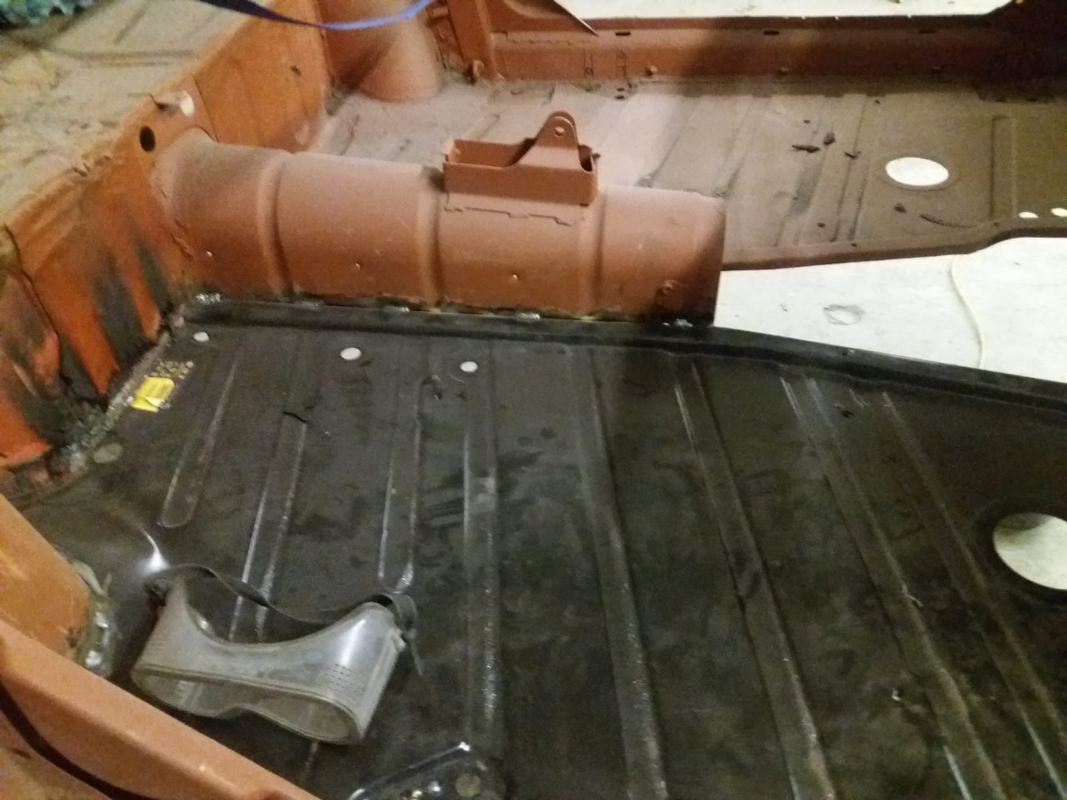
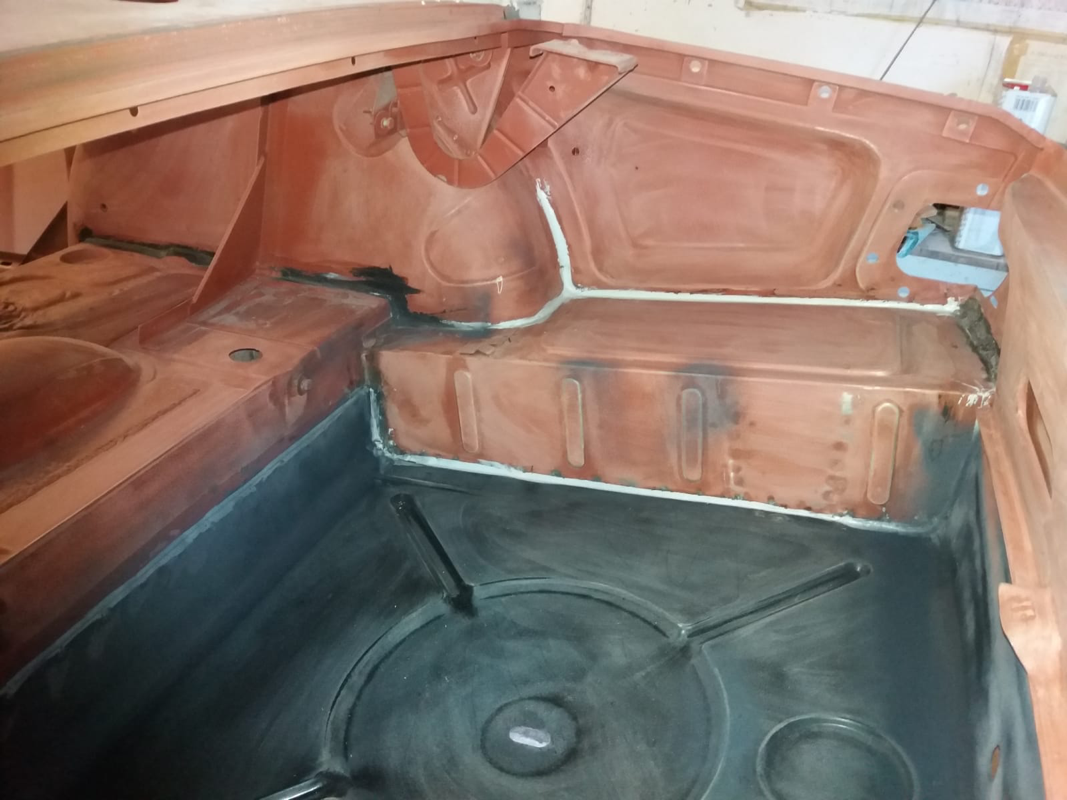
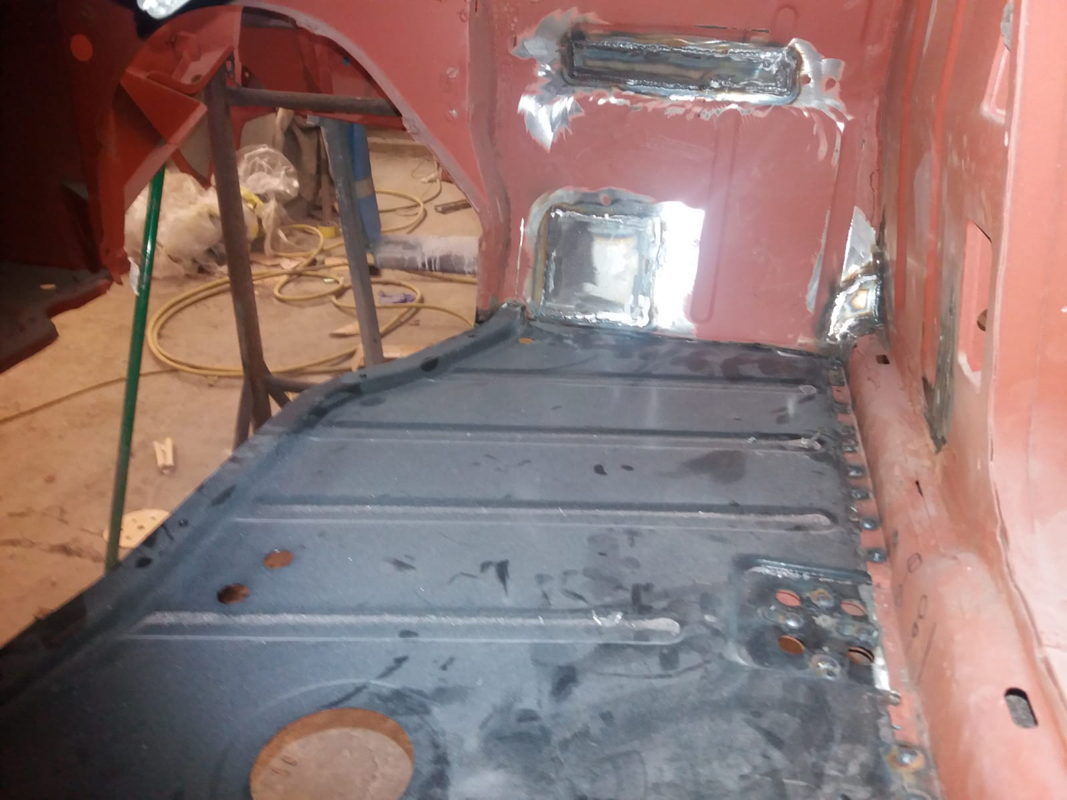
seam sealer pre primer

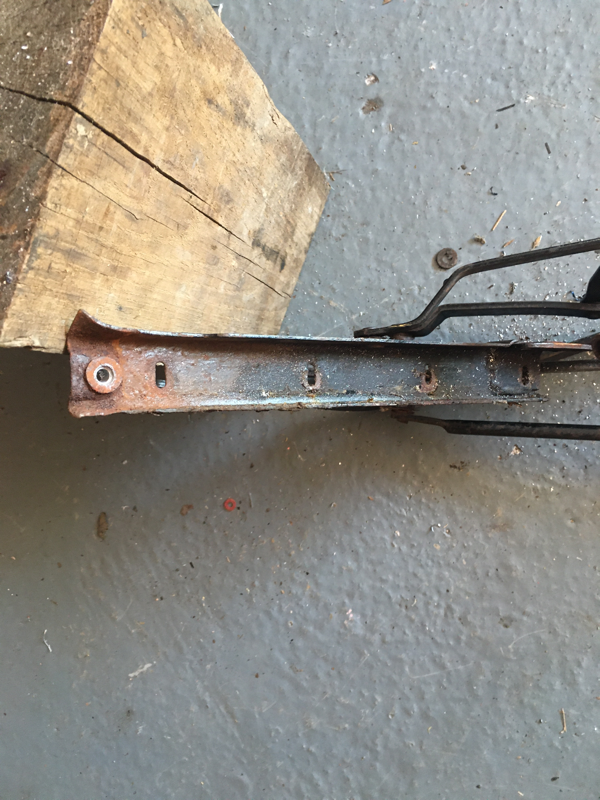
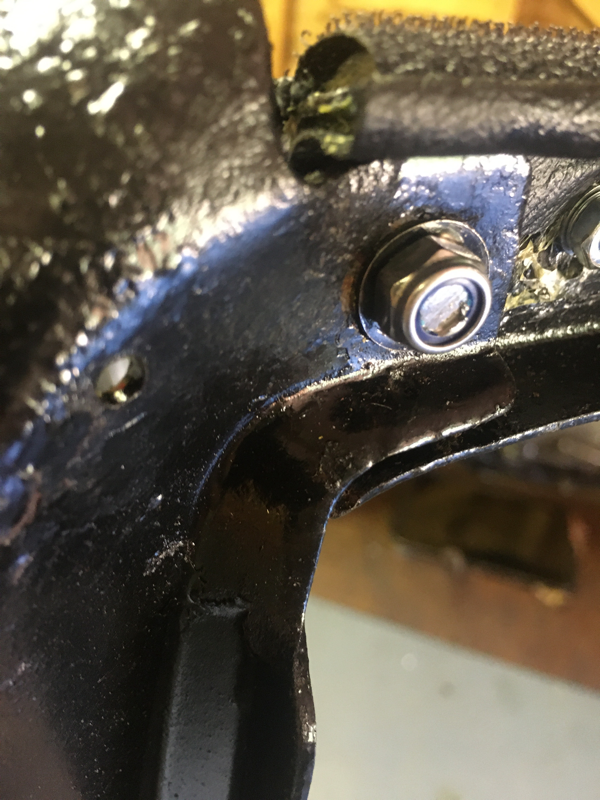
reinforcing seat belt mount
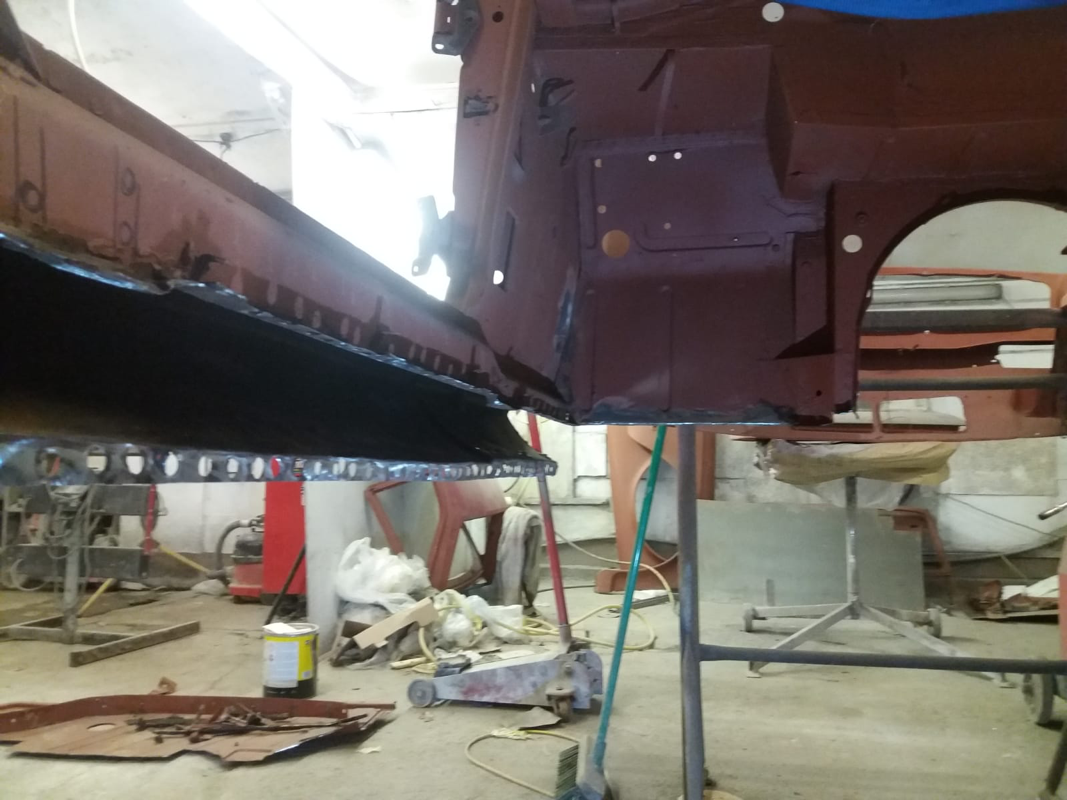
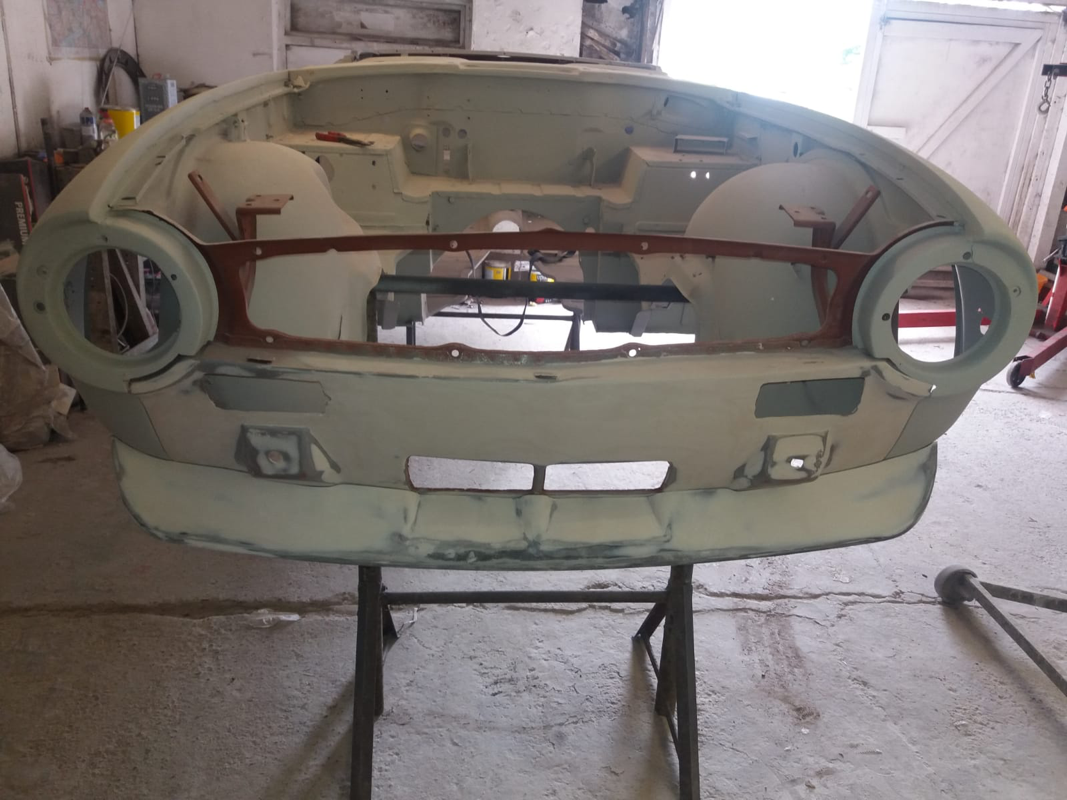
new front deck
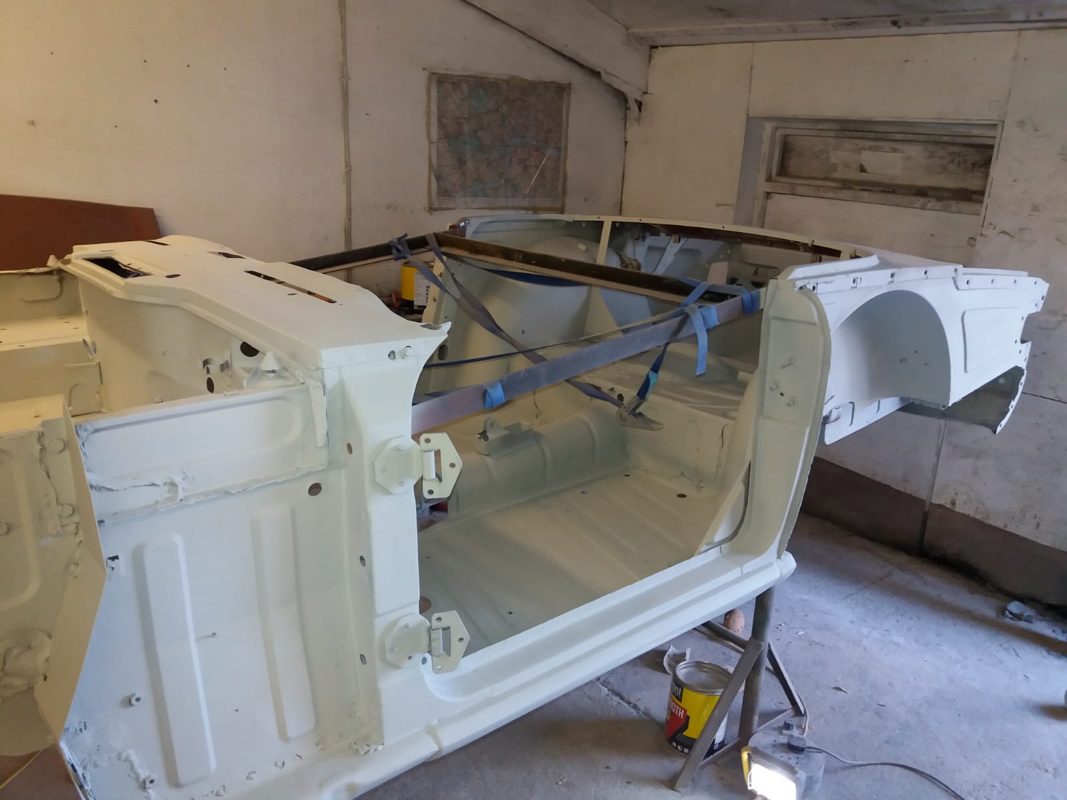
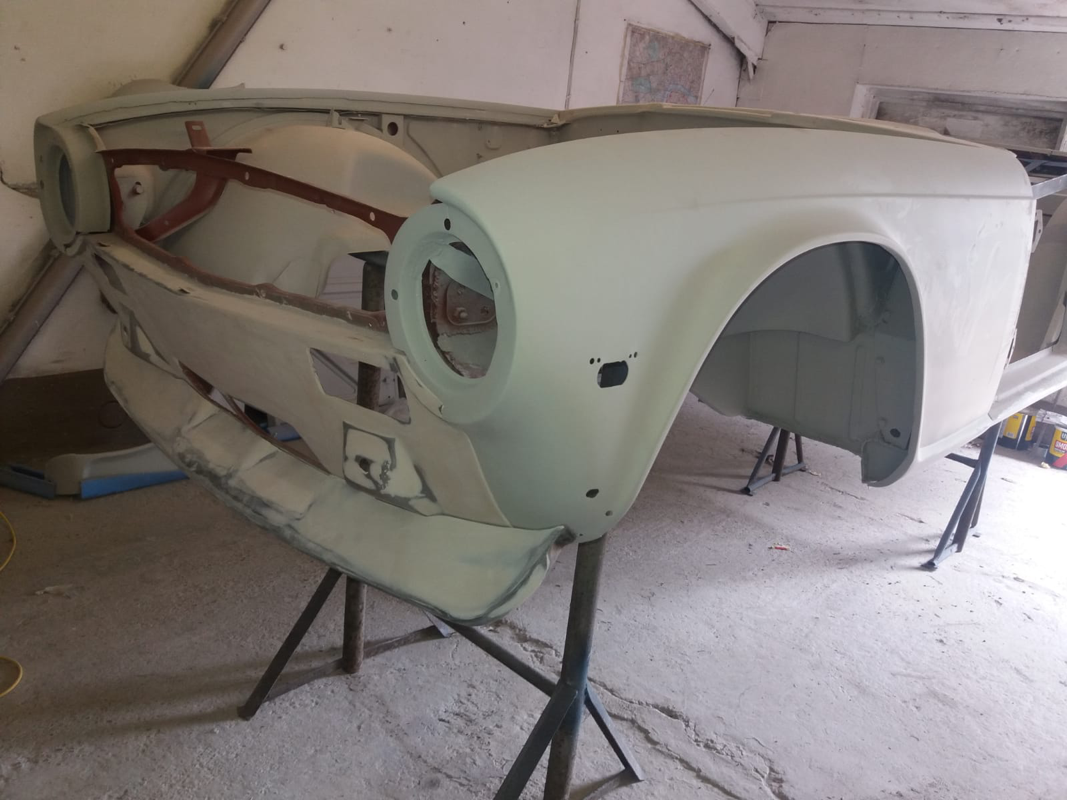
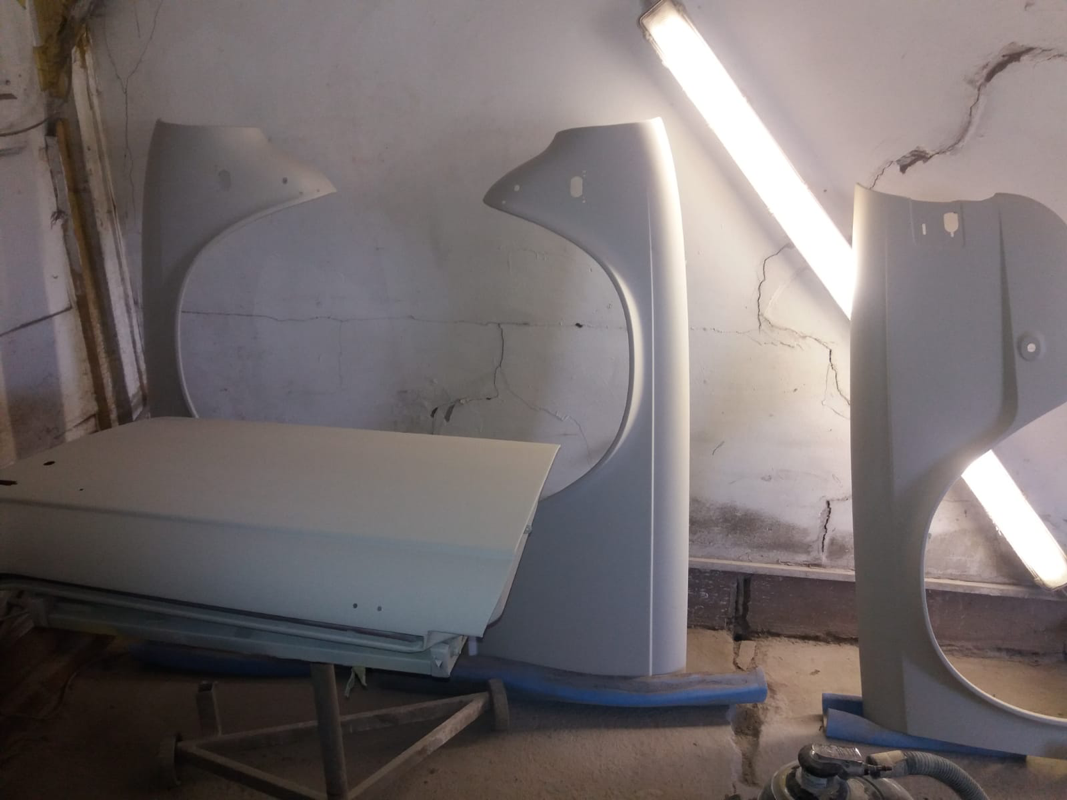
Body finally in primer
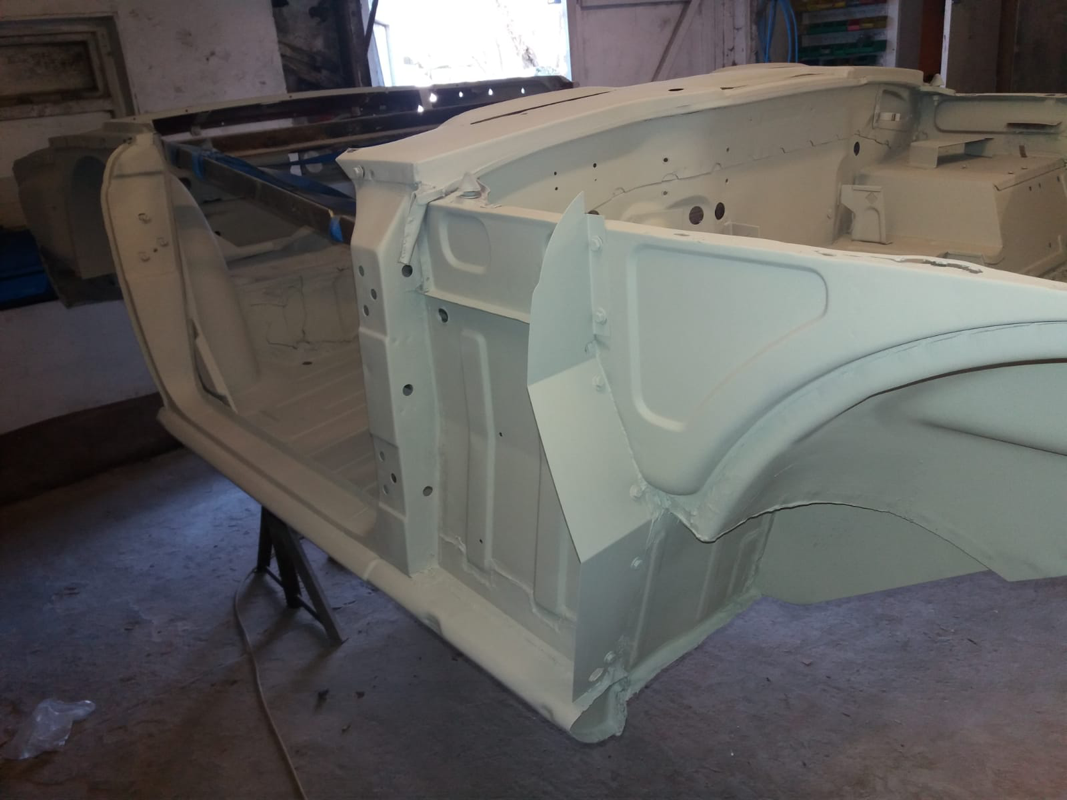

panels being fettled
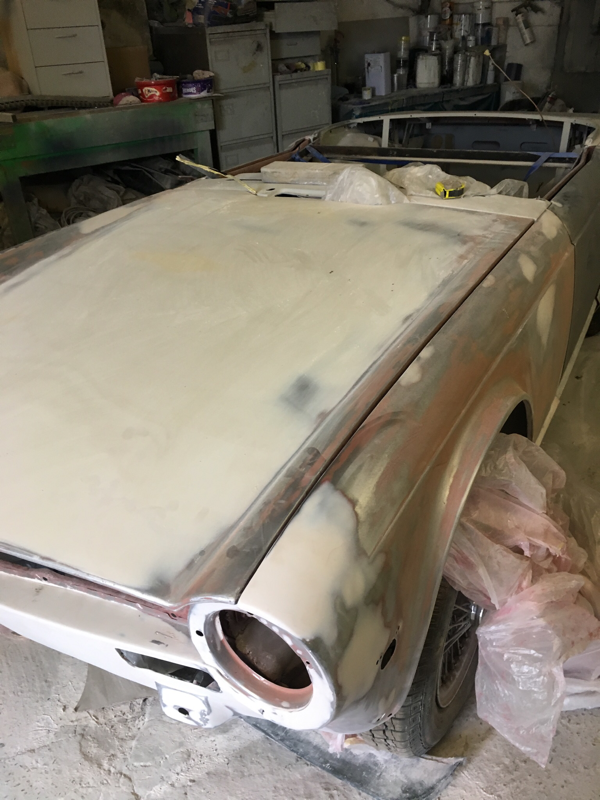
finally all in primer
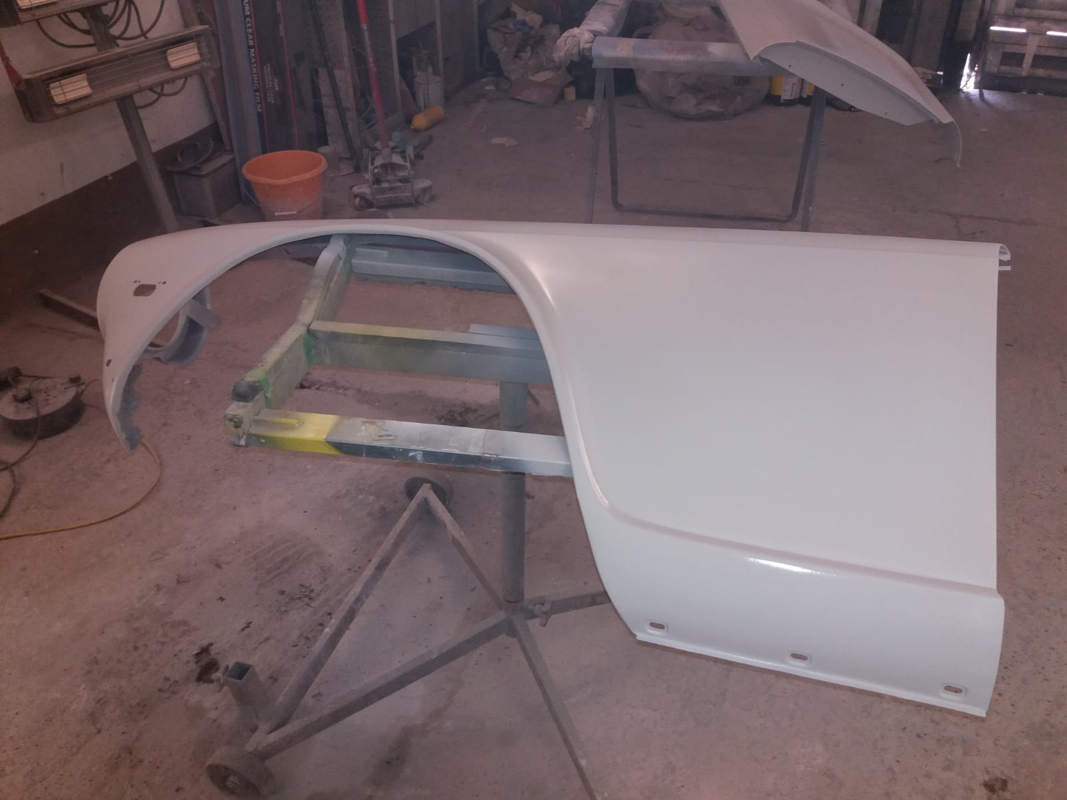
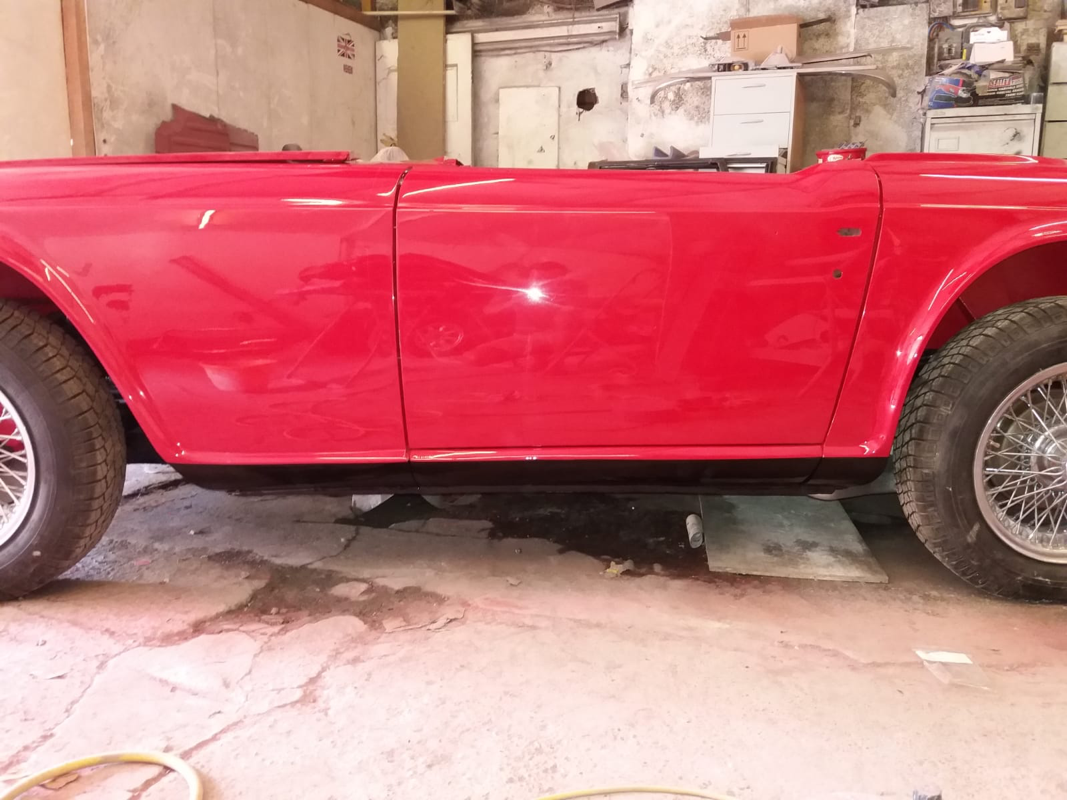
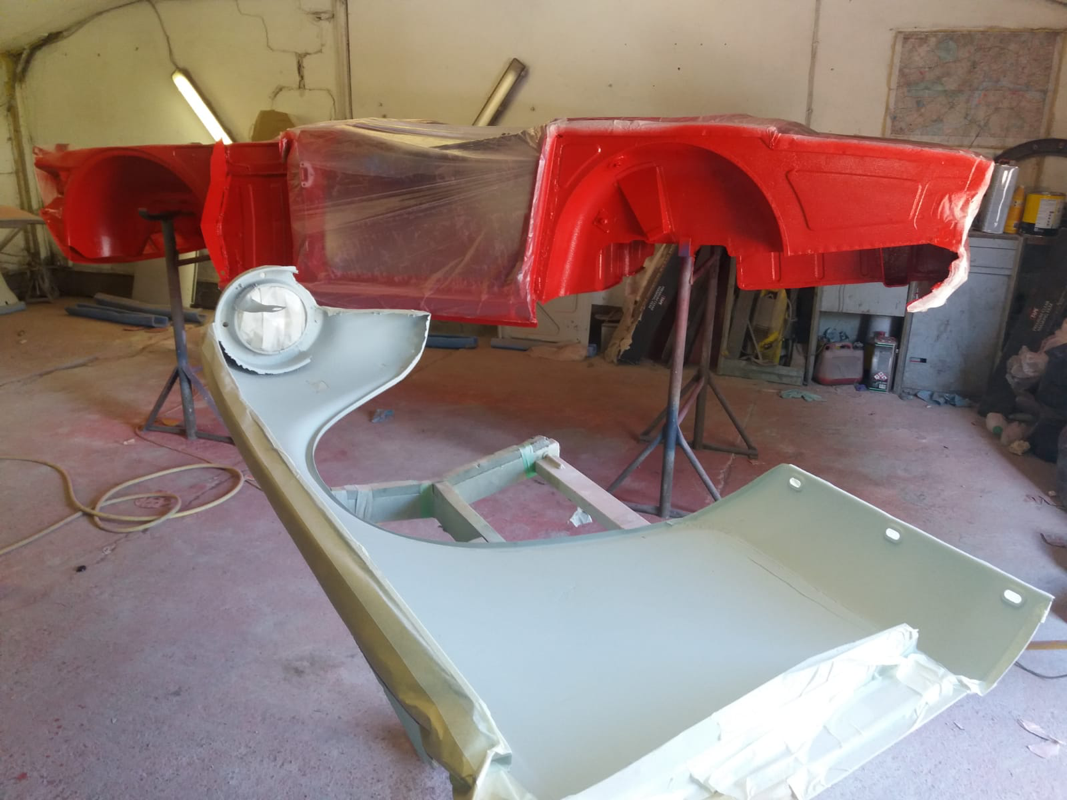
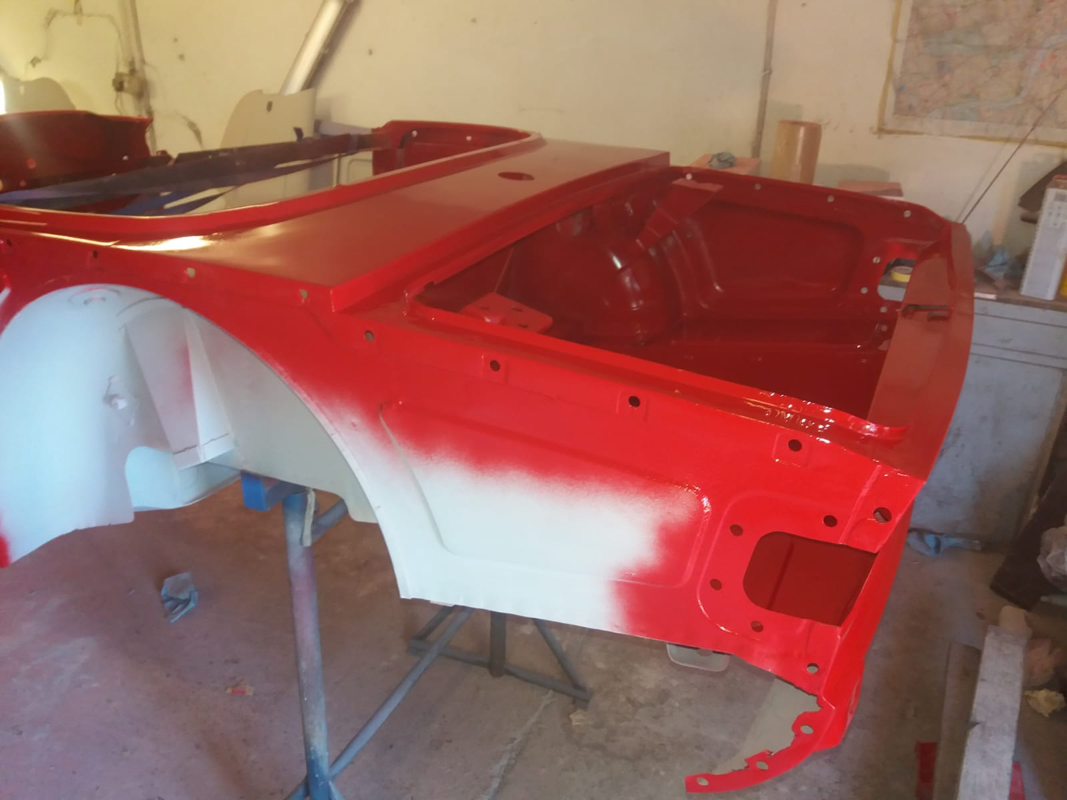
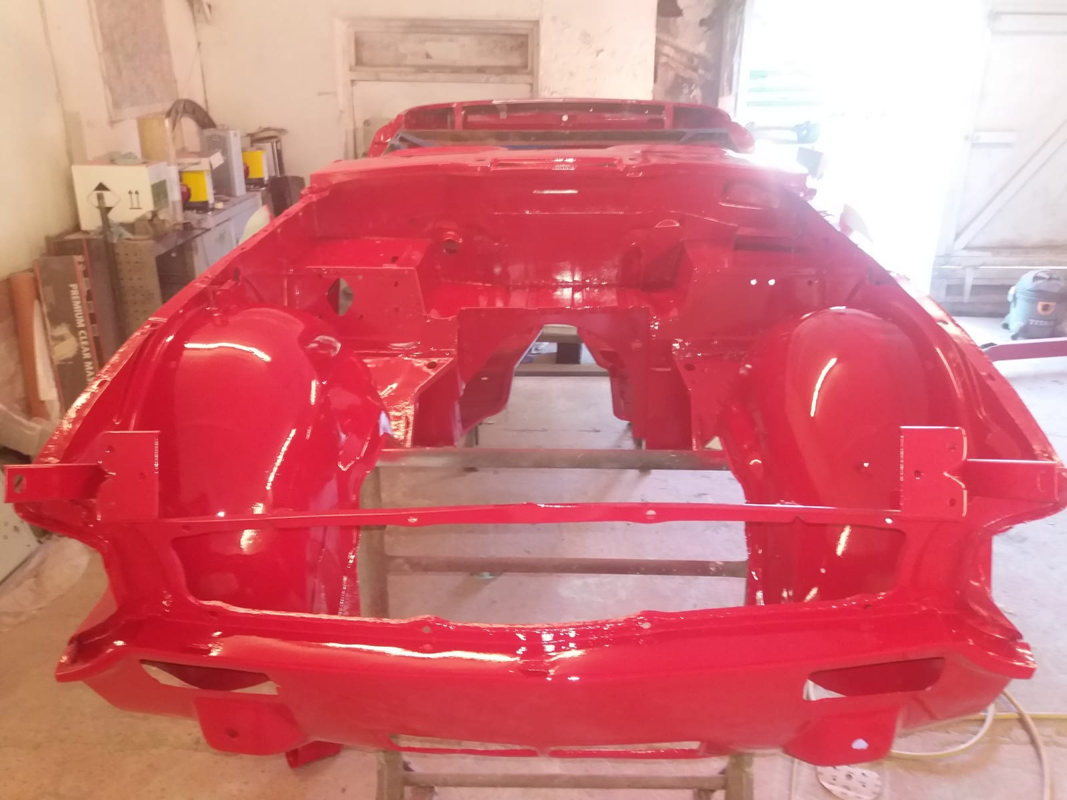
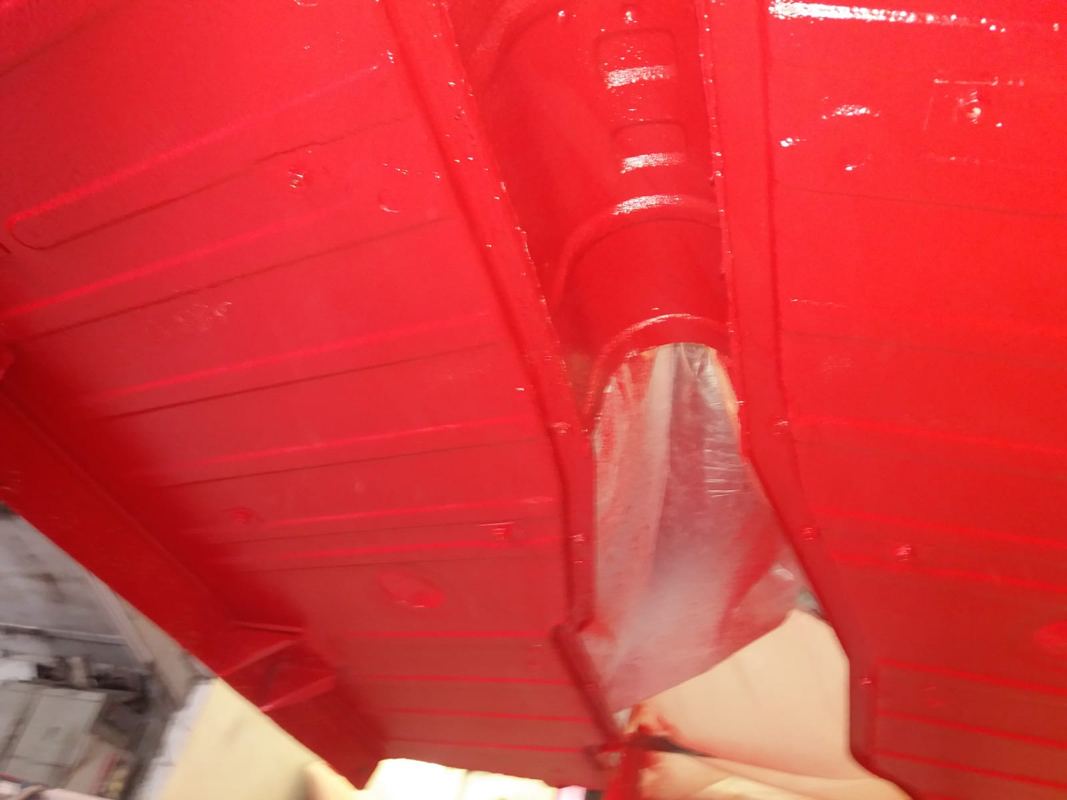
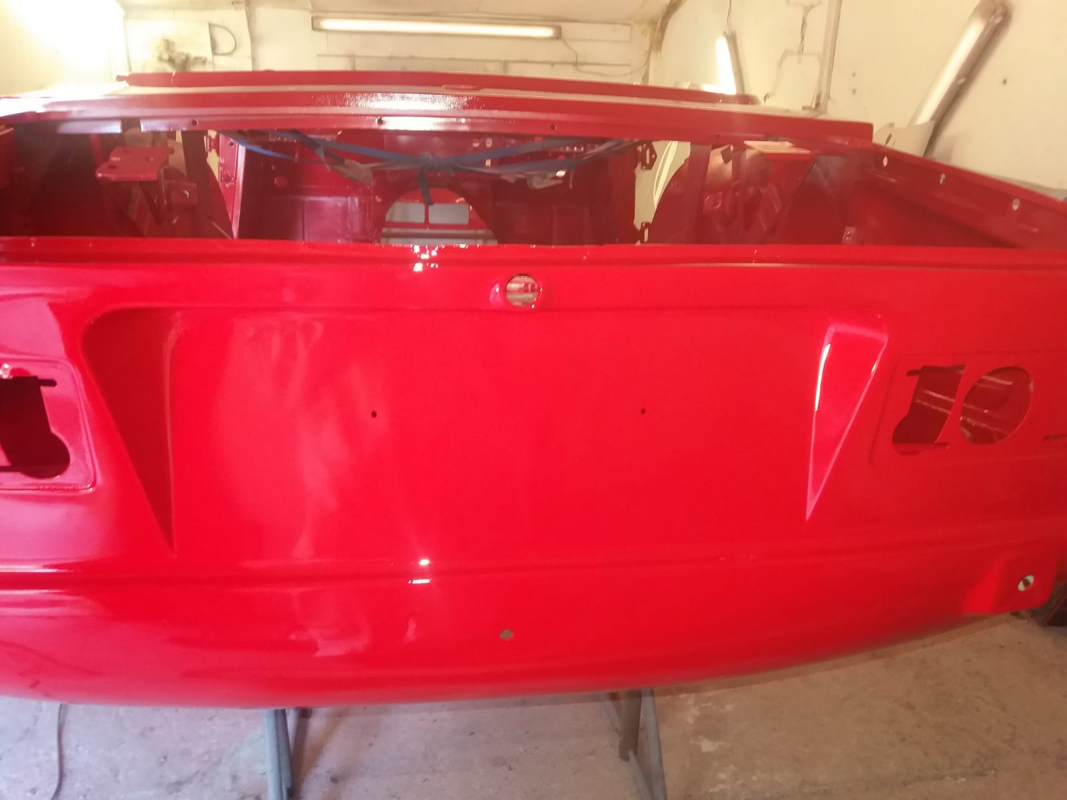
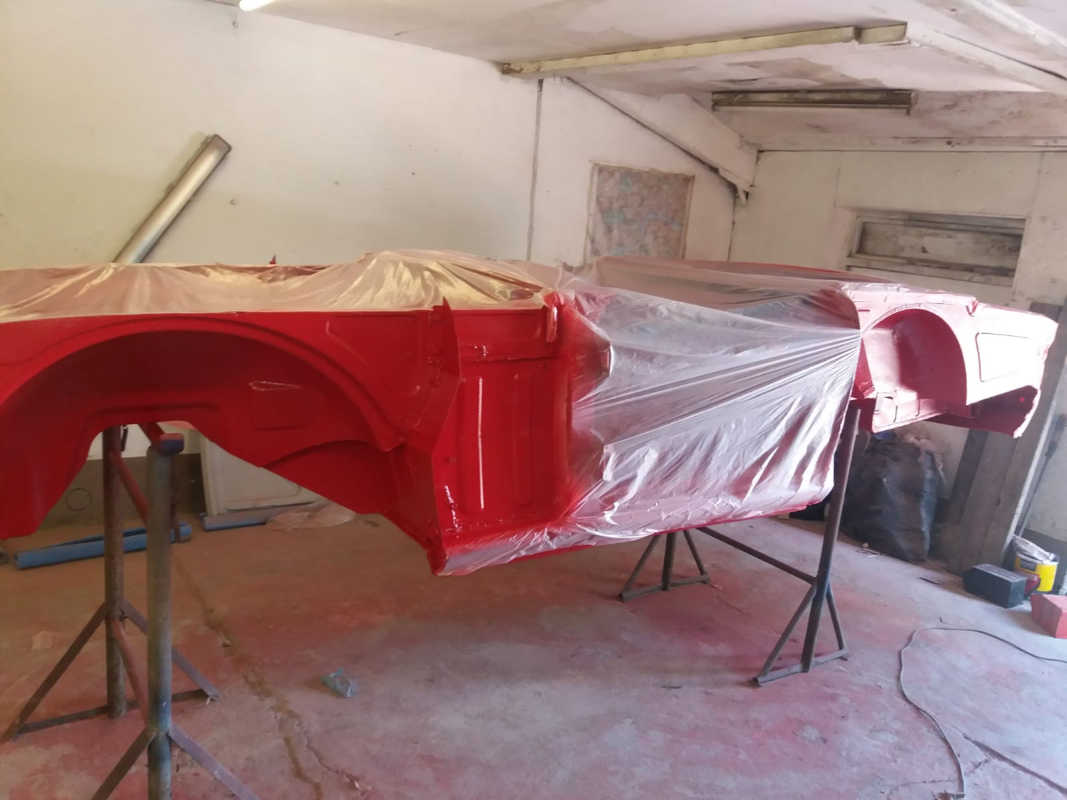
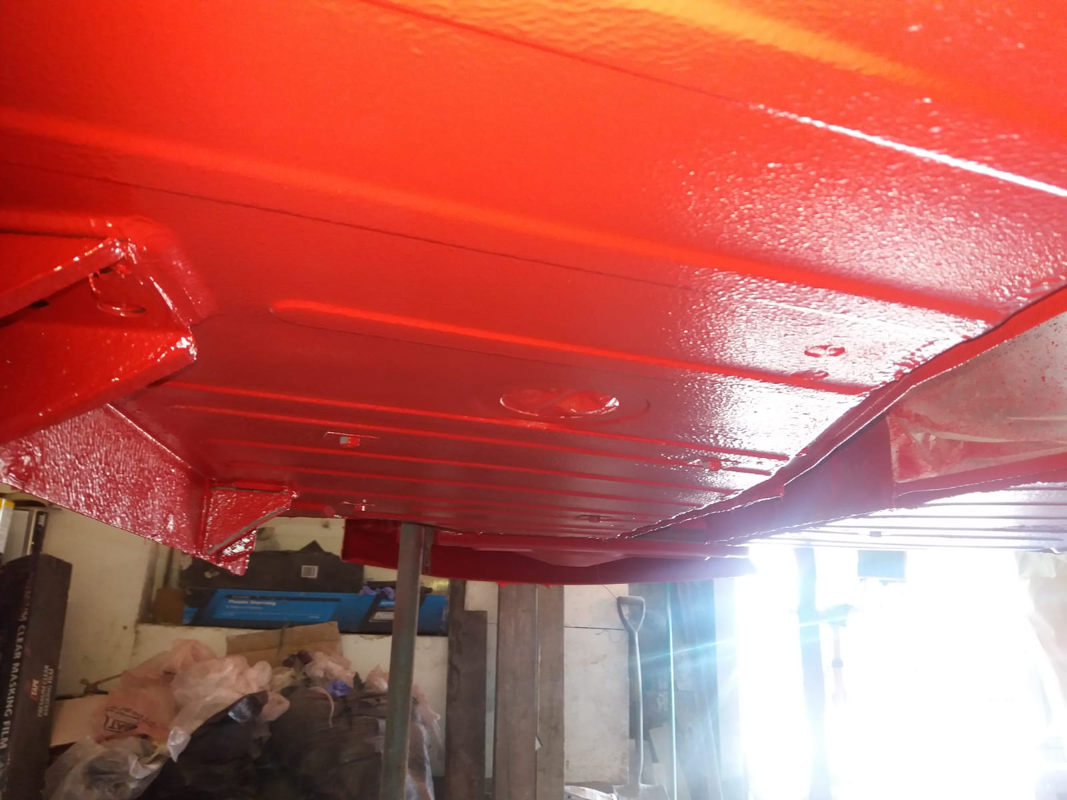
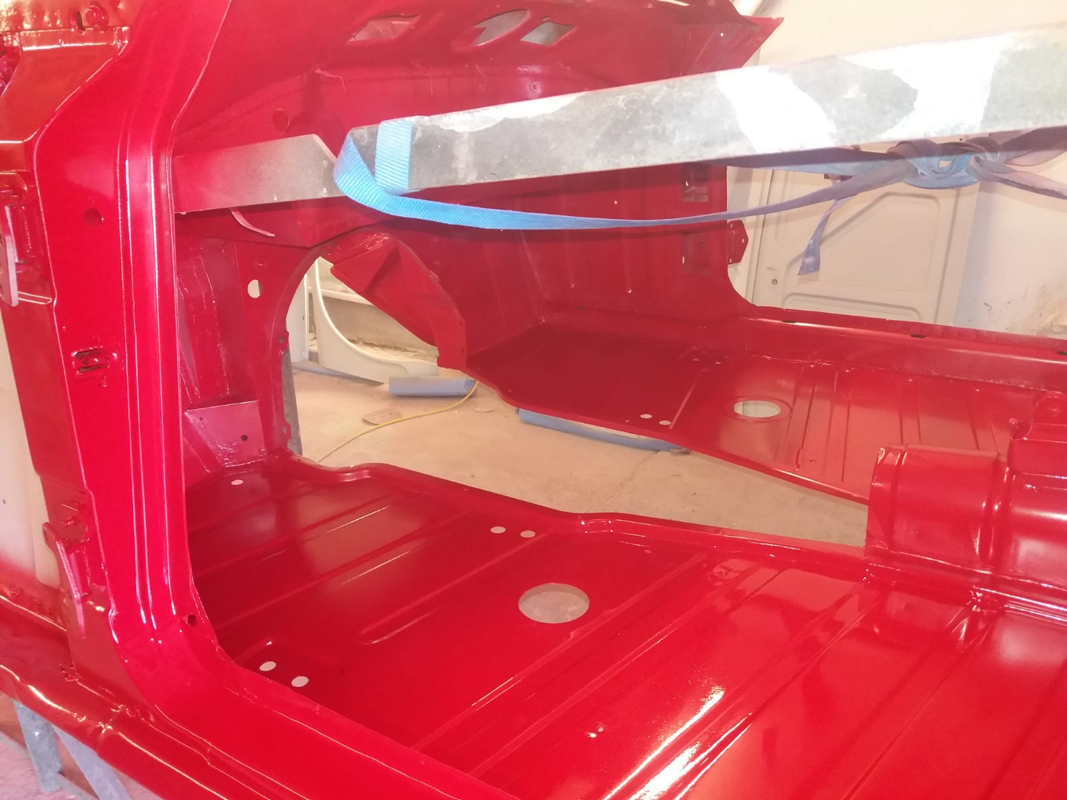
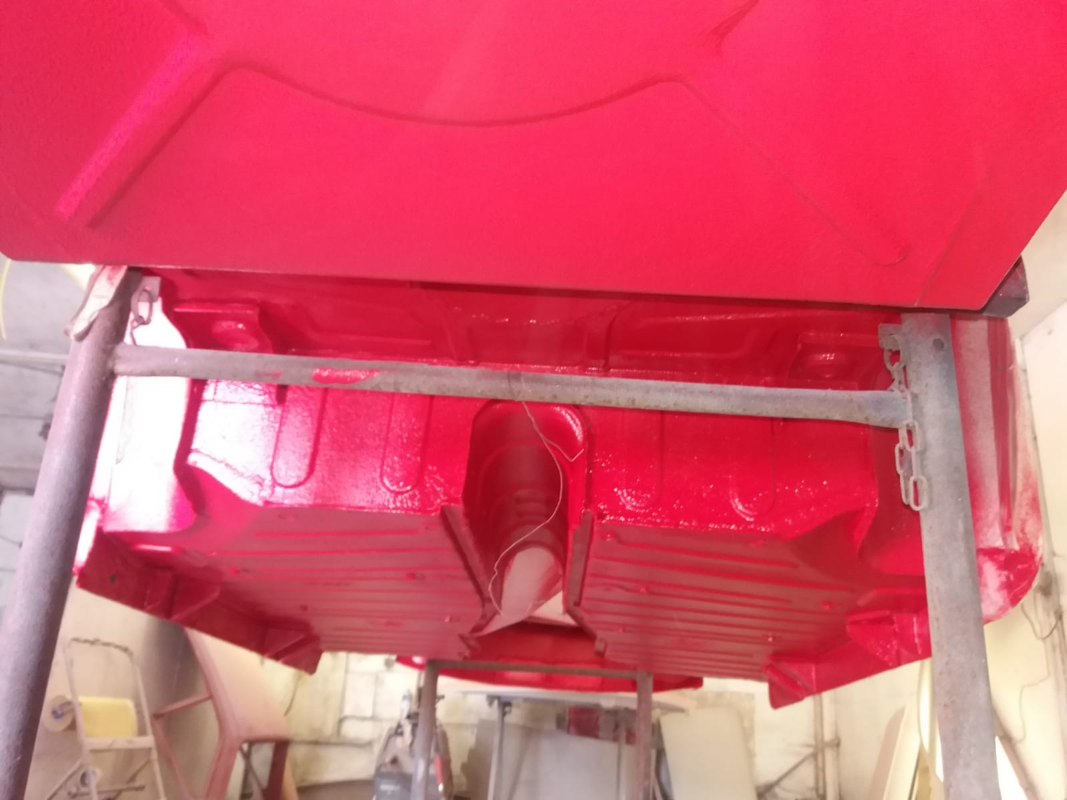
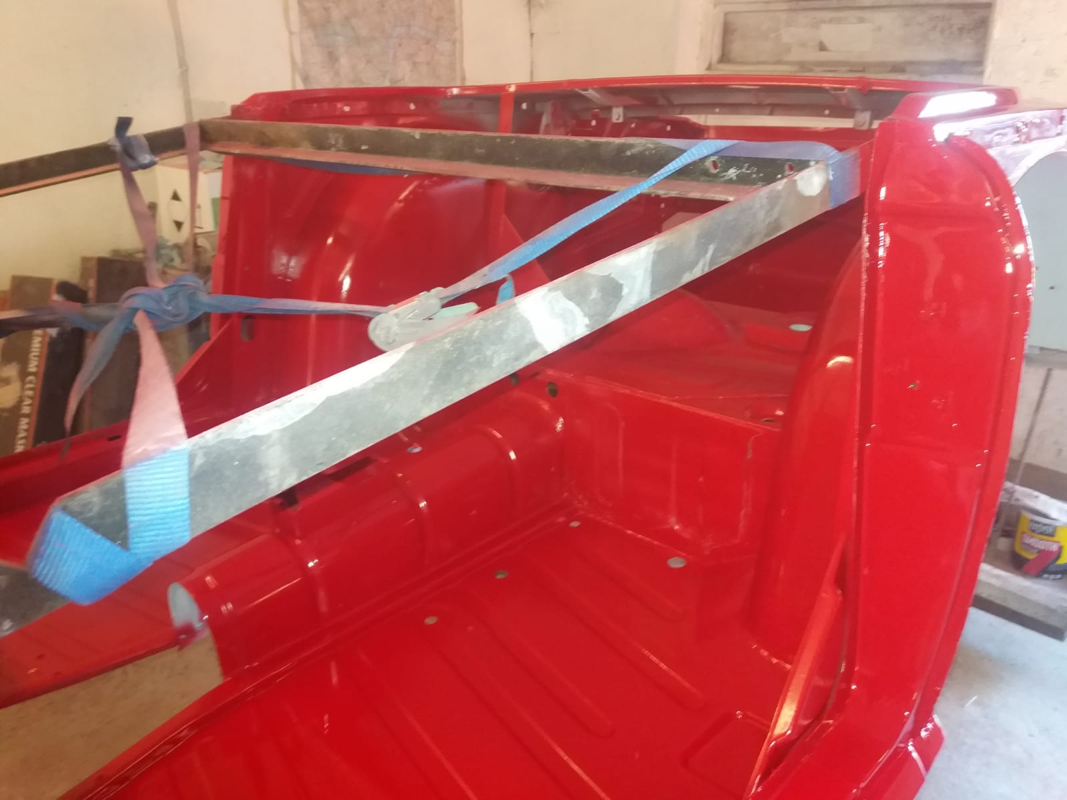
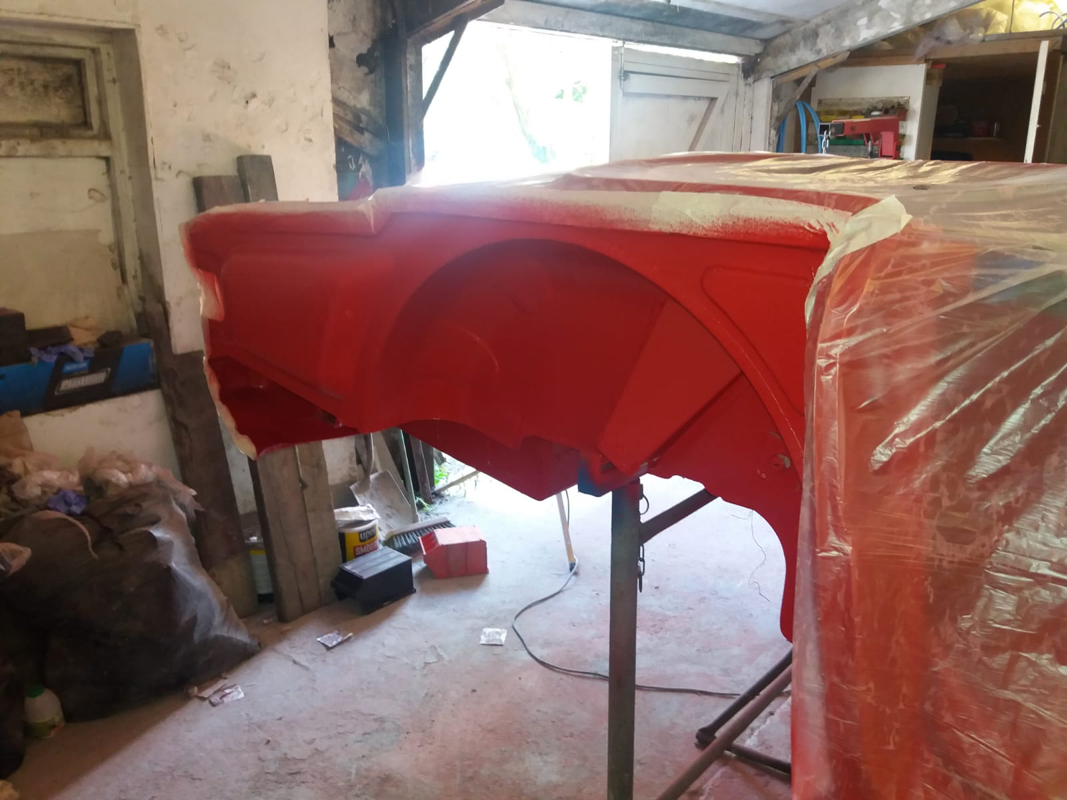
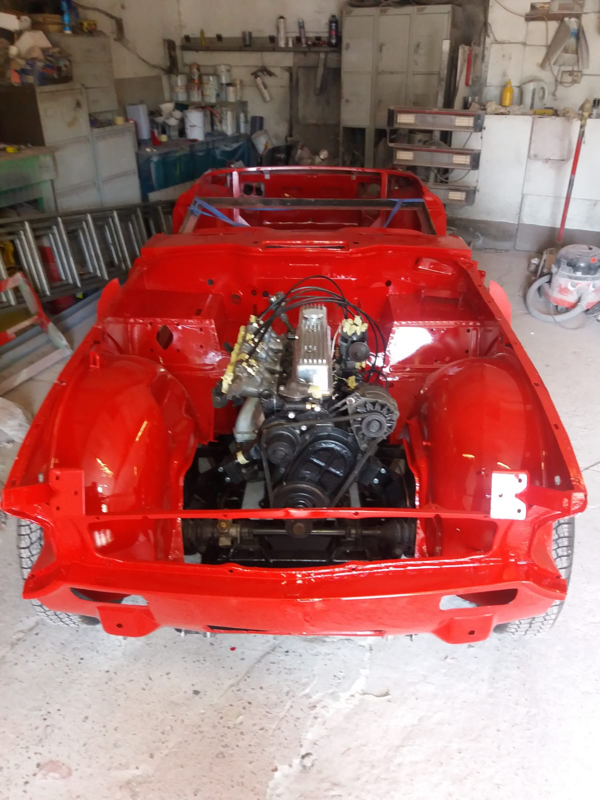
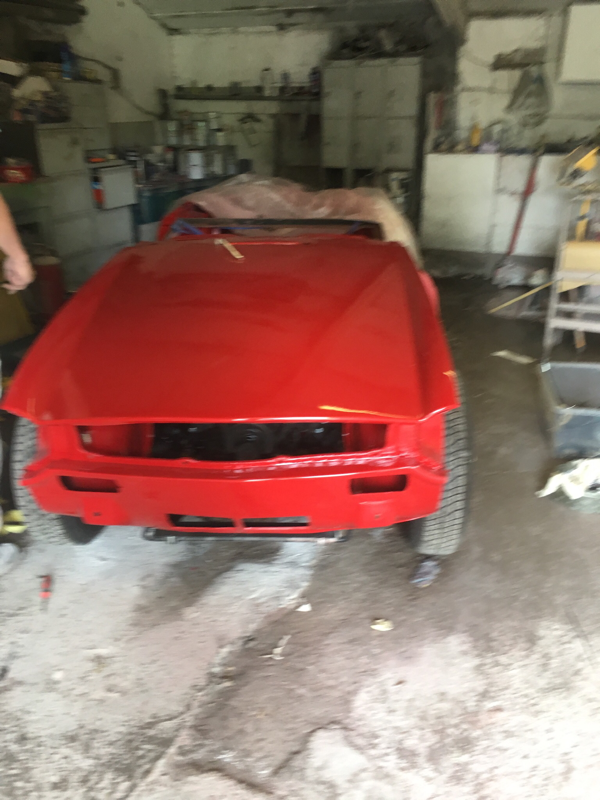
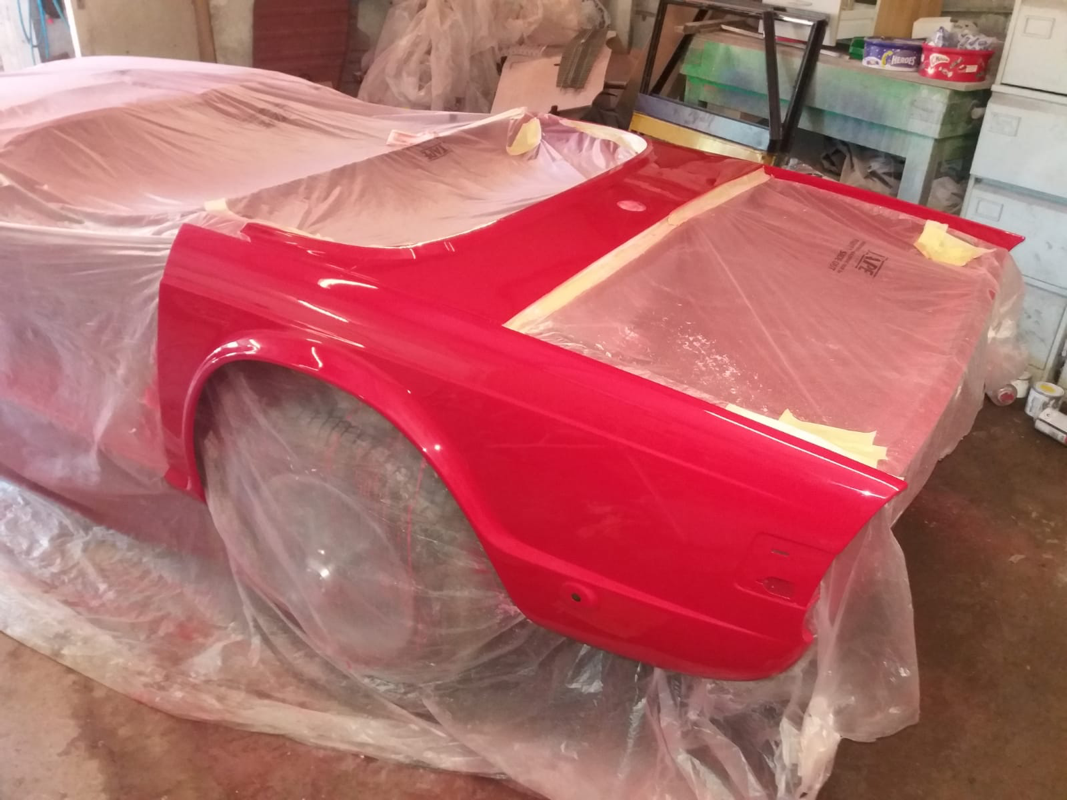
Going red!
The top two photos are taken with a different phone and luckily show that it’s not pink as the others imply!
The top two photos are taken with a different phone and luckily show that it’s not pink as the others imply!
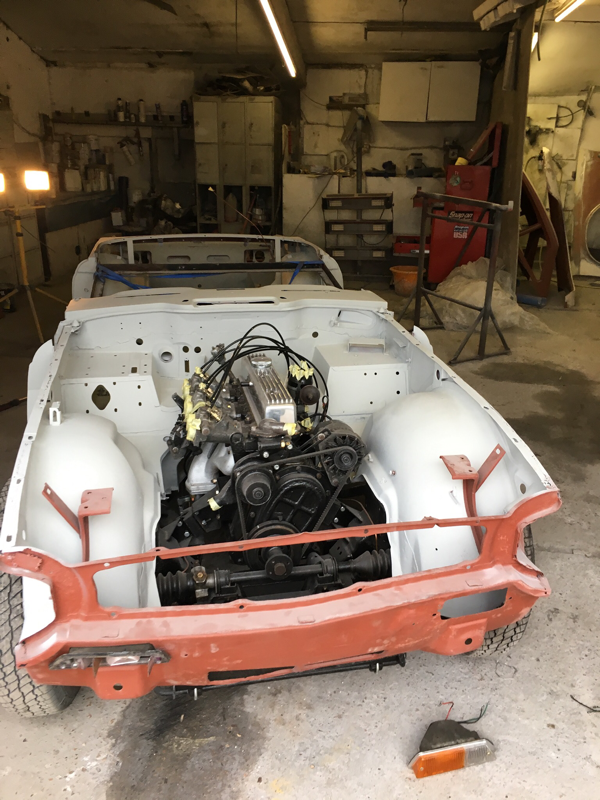
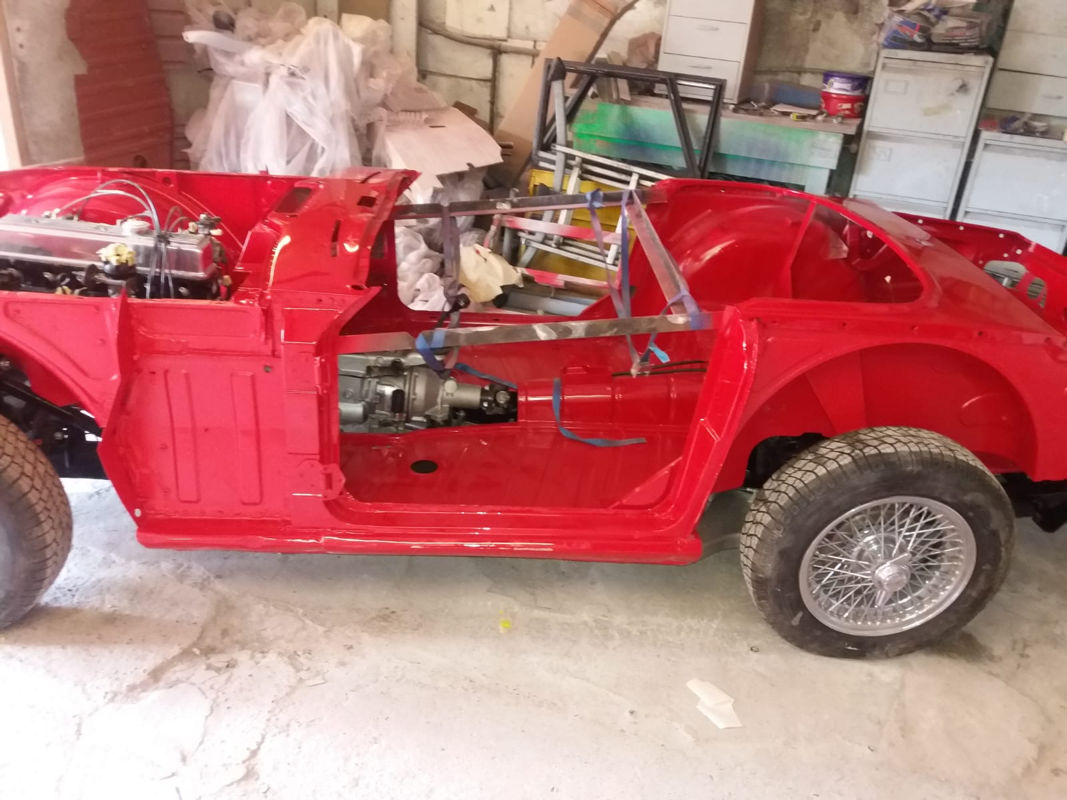
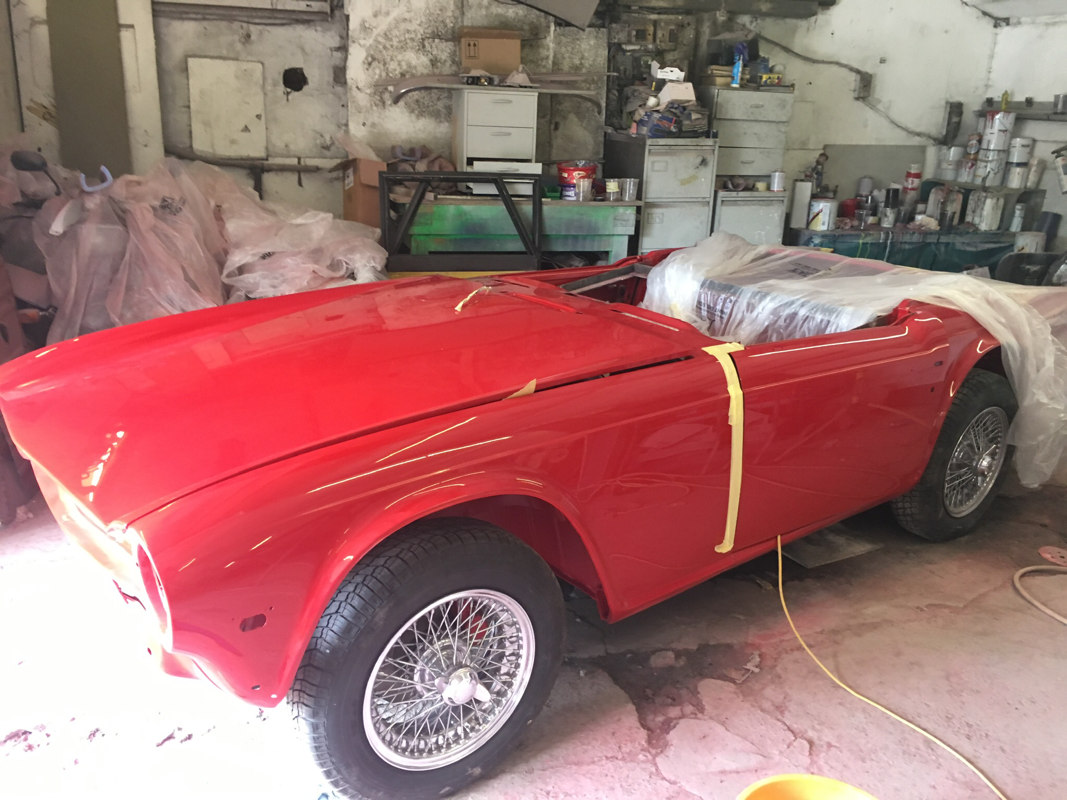
Reuniting the body with the chassis for the final time. A major milestone.
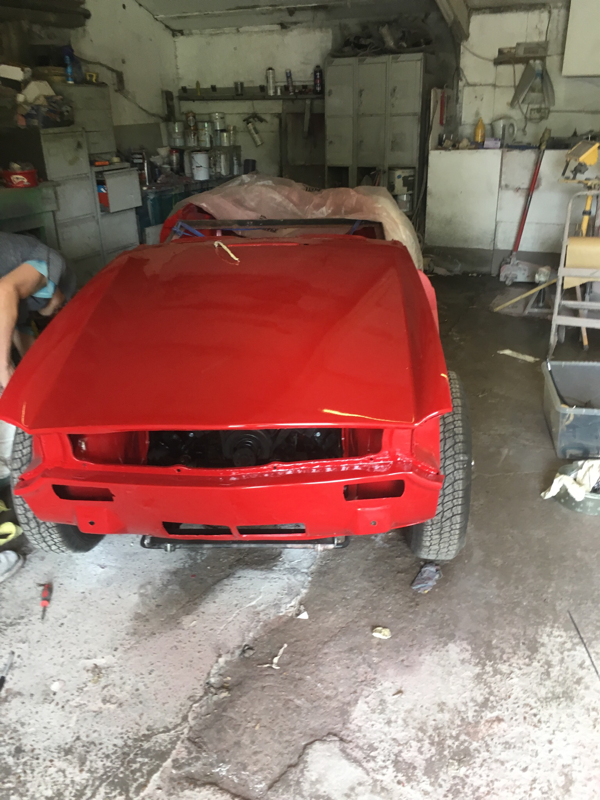
Fitting the bonnet.
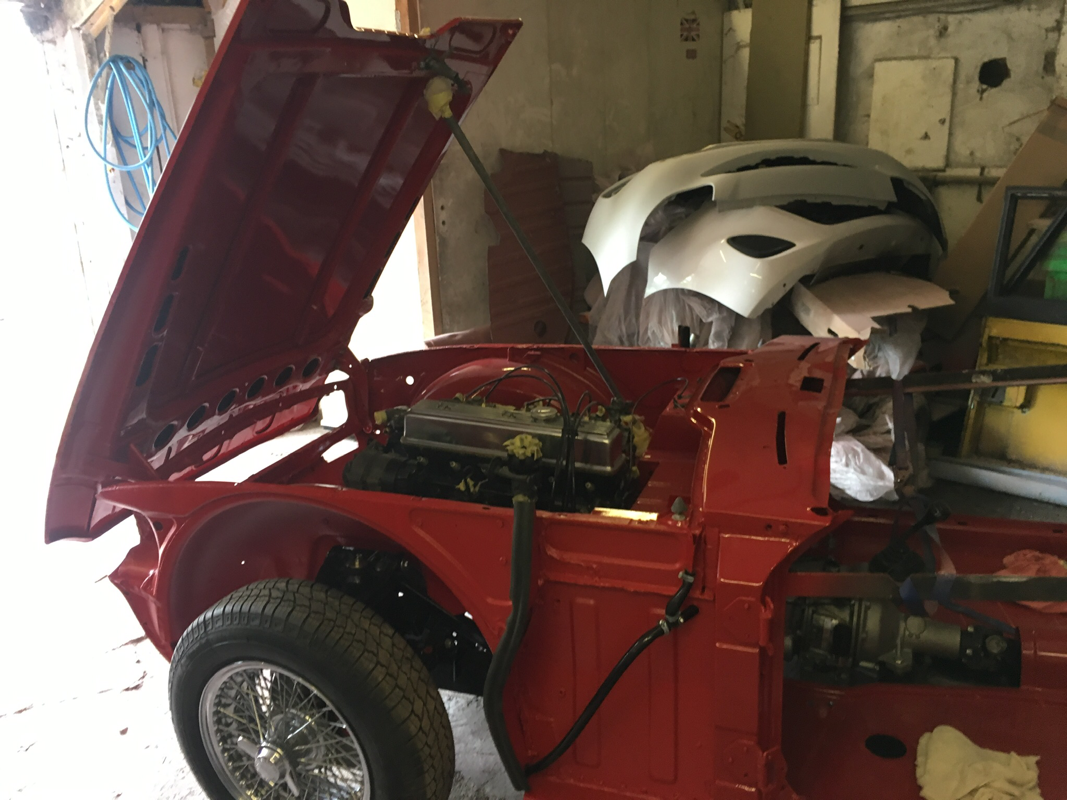
I was nervous about this for two reasons. Firstly because I was concerned about scratching the shiny new paintwork. And secondly because the bonnet release mechanism can jam, meaning you can’t open the bonnet and also can’t get at the mechanism to free it.
I fitted the bonnet release cable. And I also fitted an emergency release kit that offers a second way to open the catch- this time via a little lever down in the driver side footwell. Turns out the latter is easier to use than the main release cable so I can see me using the emergency kit as the main opener.

Bonnet on- another major milestone. Note the broom handle as a bonnet stay....
Panels on. I used flexible windscreen sealant between the tub and the wings. Hopefully they won’t need to come off again but if they do it should make it easier.
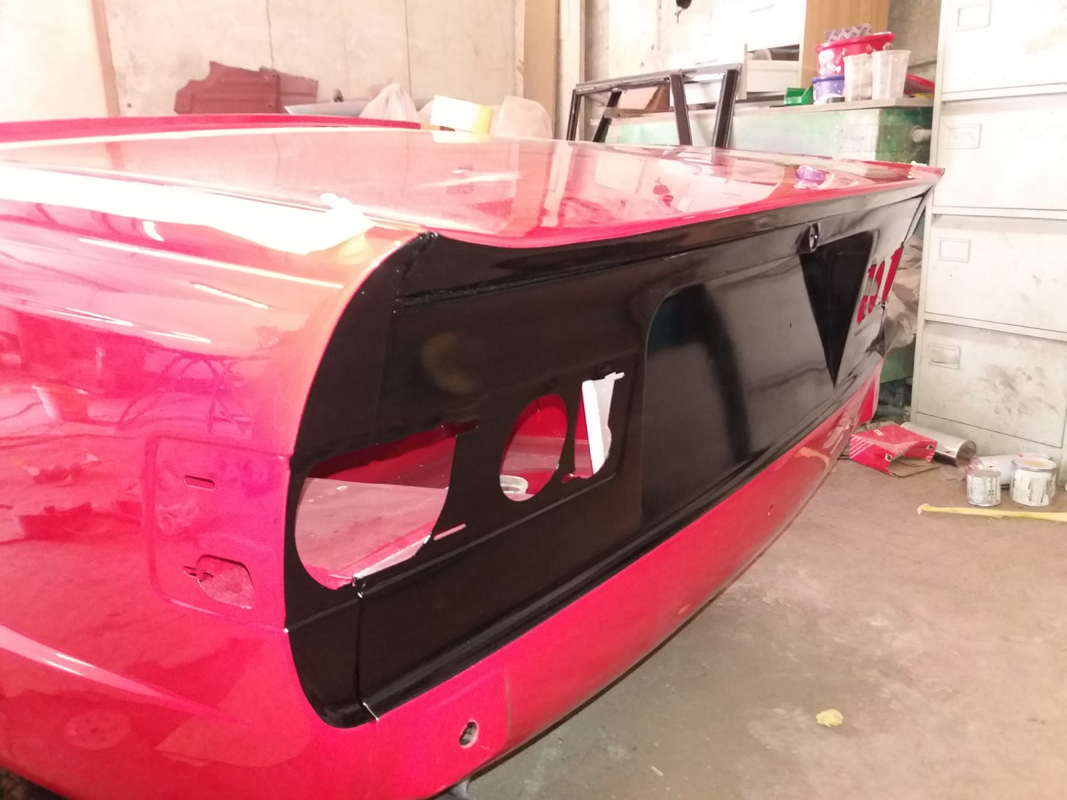
Going black! The back end of a TR6 is black, as are the sills and also behind the front grill. I’ve seen a lot that have been resprayed and haven’t had this done and they just don’t look right. I think it’s supposed to be Matt black but I went with satin because- well just because.